Cherry4
Posts, Categories and Posts Formats
This section will show you some basics of working with WordPress. Content in WordPress is stored as posts and categories. Let's see how to work with posts and categories.
Adding a Category
To add a category you need to do the following:
- Open the Posts tab.
- Click Categories to see all categories.
- Enter new category name.
- Click Add New Category.
- Click Publish.
You can check detailed information about adding categories at http://codex.wordpress.org/Manage_Categories_SubPanel
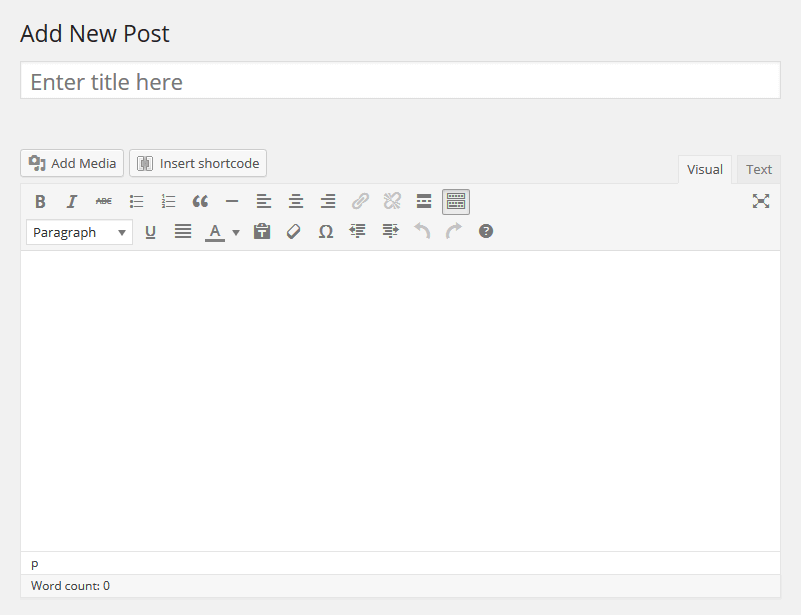
Creating a Blog Post
To add a blog post you need to do the following:
- Open the Posts tab.
- Click Add New.
- Add content to the post.
You can check detailed information about adding posts at http://codex.wordpress.org/Posts_Add_New_SubPanel
Post Formats
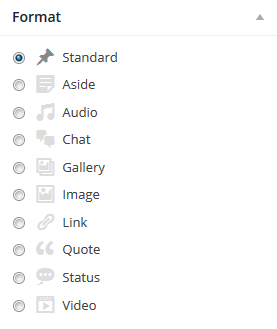
Post formats are used to customize available post options and markup. You can choose a post format on the post editing screen.
You can check detailed information on post formats at http://codex.wordpress.org/Post_Formats .
Check the list of available posts formats with description and settings below.
Standard Post Format
Standard post format has the following fields:
- Post title - post title
- Post content - post content
- Categories - post category(ies)
- Tags - post tags
- Featured Image - post featured image
- Other fields that can be enabled in Screen Options in the top right corner.
Aside
Aside is a simplified standard post format. In other words there is only a content field, so you don't need to enter title and other options.
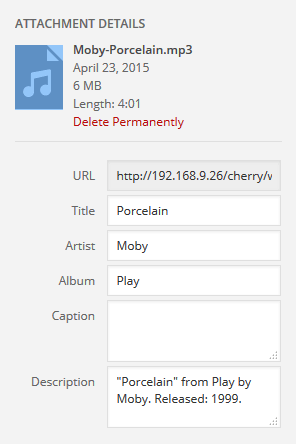
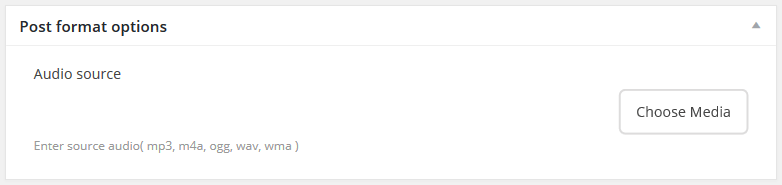
Audio
Audio format is used to publish audio content.
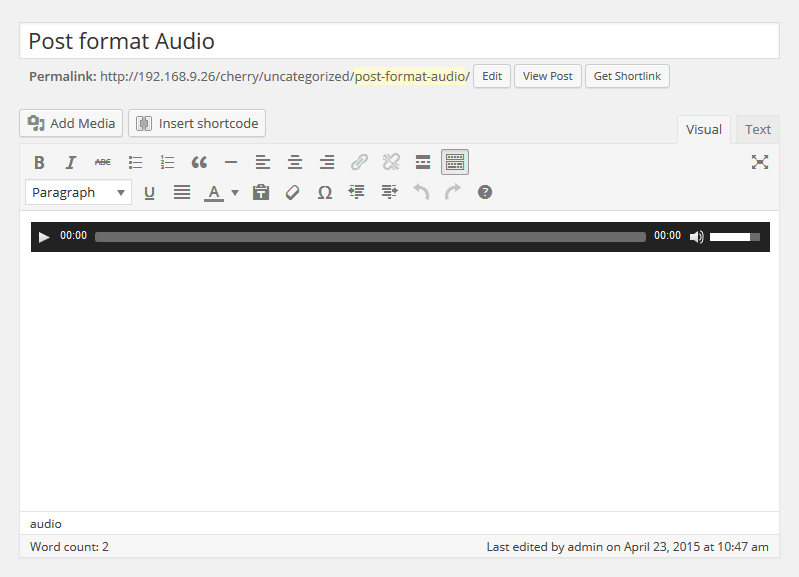
You can edit the following fields in the media gallery file settings:
- URL - audio file direct URL
- Title - audio track name
- Artist - audio track performer
- Album - audio track album
- Description - audio track description
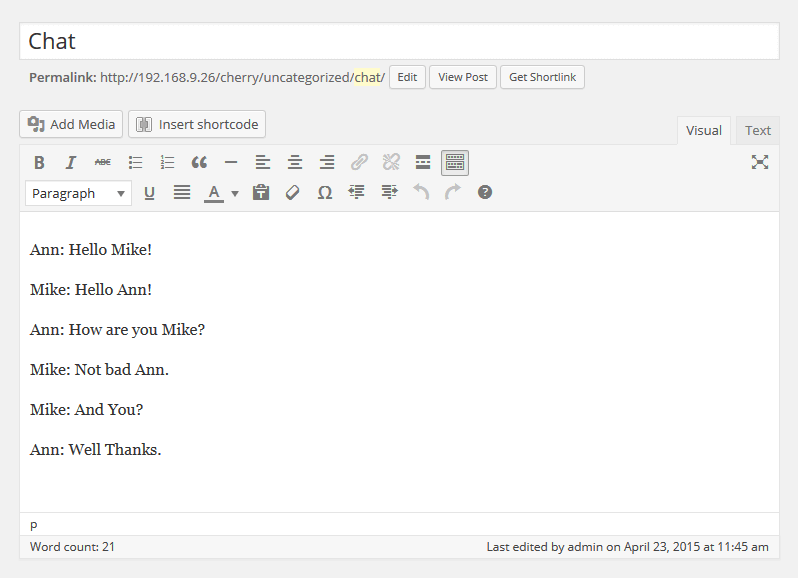
Chat
Chat format is a post with content in the form of successive messages.
- Ann: Hello Mike!
- Mike: Hello Ann!
- Ann: How are you Mike?
- Mike: Not bad Ann.
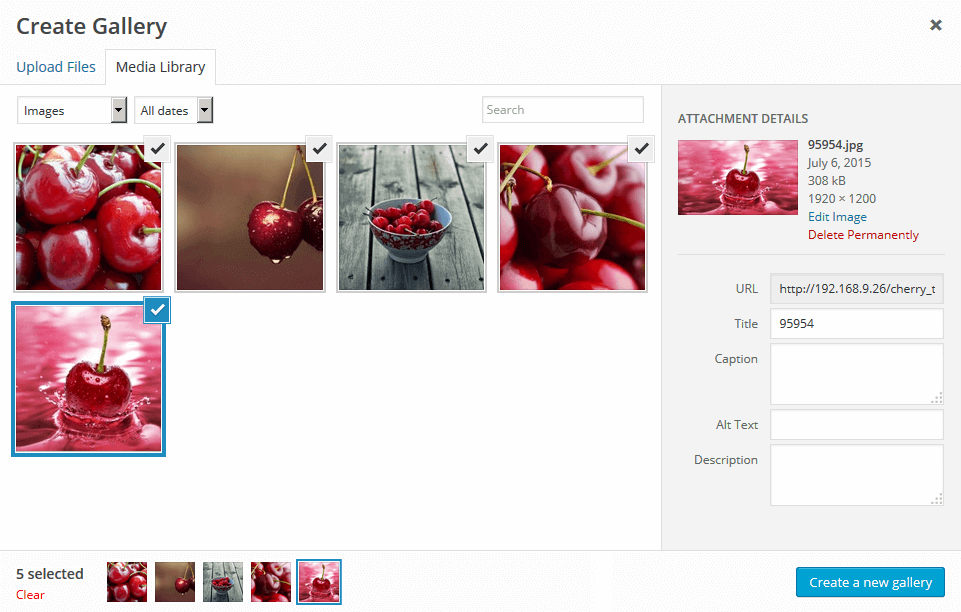
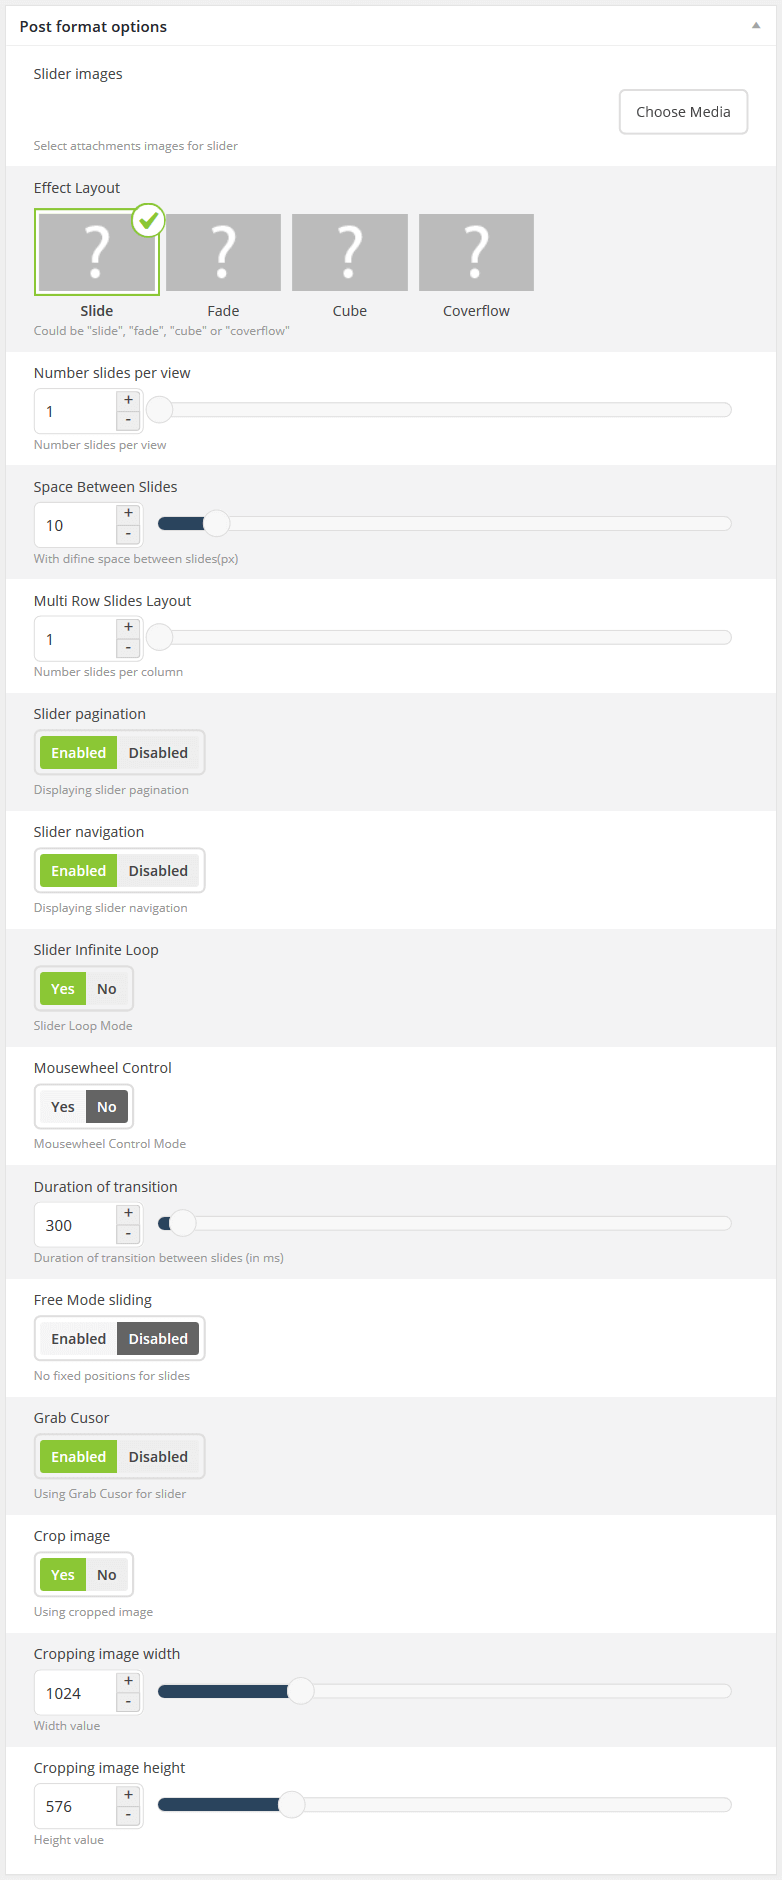
Gallery
The main feature of this post format is the possibility to add an unlimited number of images.
Adding a gallery:
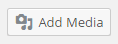
Click Add Media.
Drag files or click Select Files to add images from local computer.
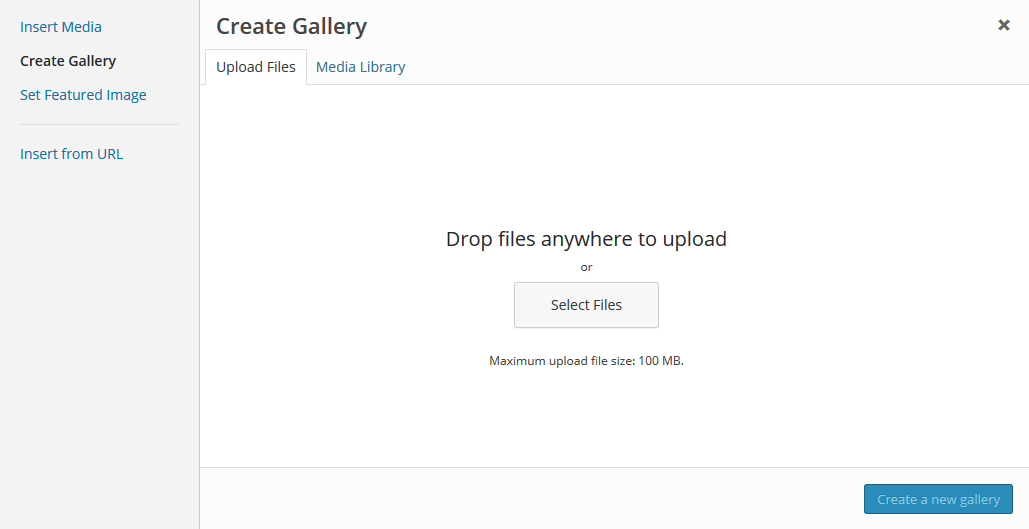
After images are uploaded, you can find them in Media Library. Click Uploaded to this post to view the images.
After editing you can close the media library. Uploaded images will be added automatically.
Gallery post format has the same fields that the standard post format has (e.g. title, content, category, etc).
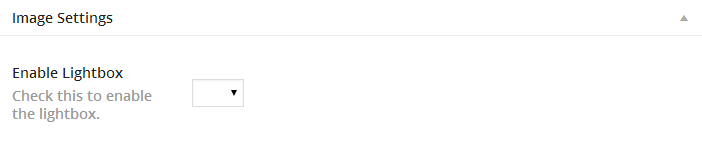
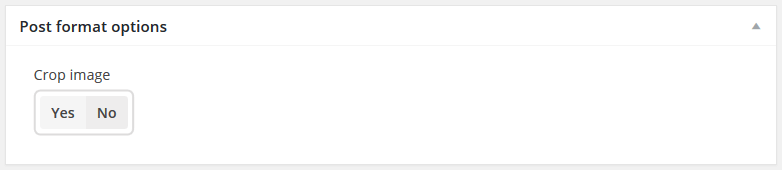
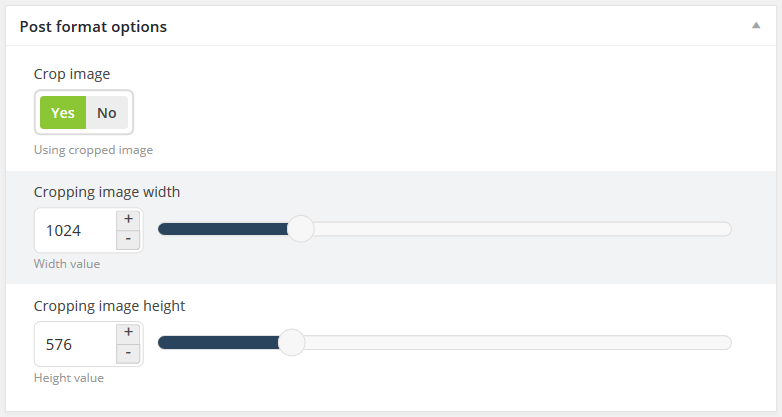
Image
Image format is a format that includes one image uploaded through the Featured Image option.
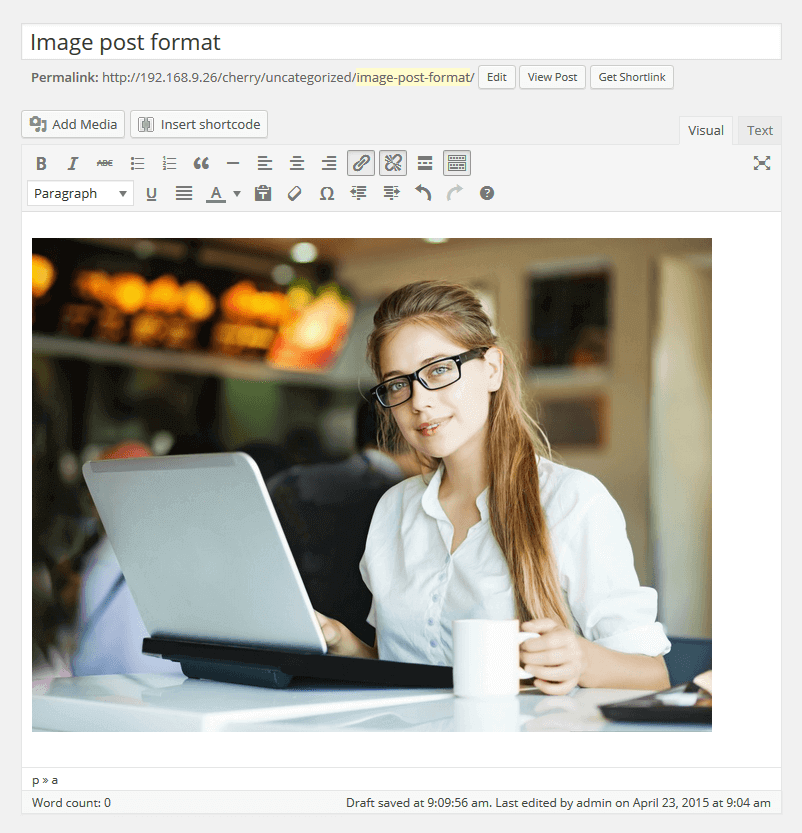
Having selected this format, you can turn off the lightbox by uncheking the Enable Lightbox option.
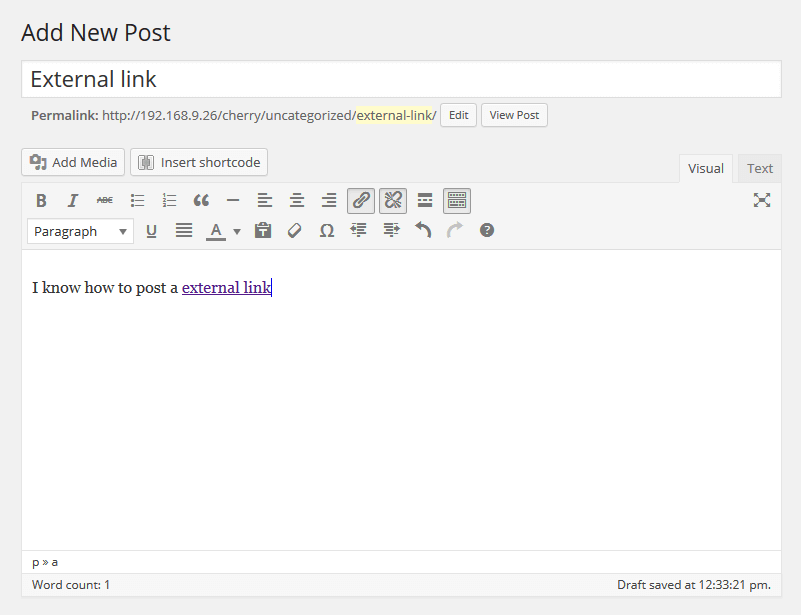
Link
Link post format can be created in the visual editor by adding a URL in standard post format. Post title will be used as the URL text.
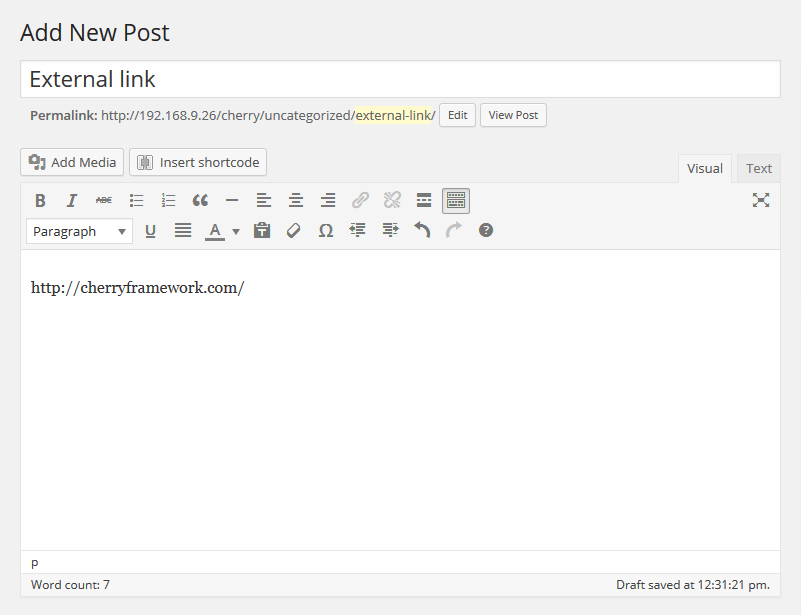
Moreover, you can add a description of the target page and link any part of the text.
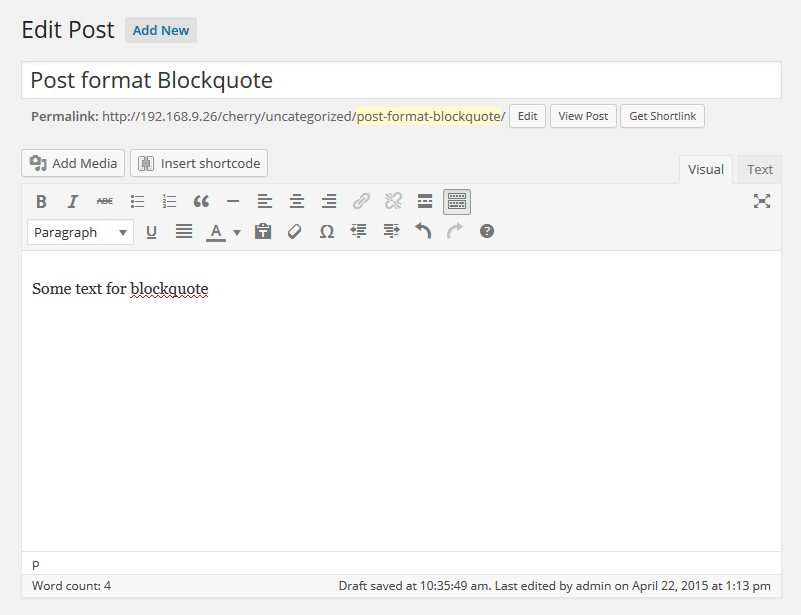
Quote
Quote post is used to publish statements.
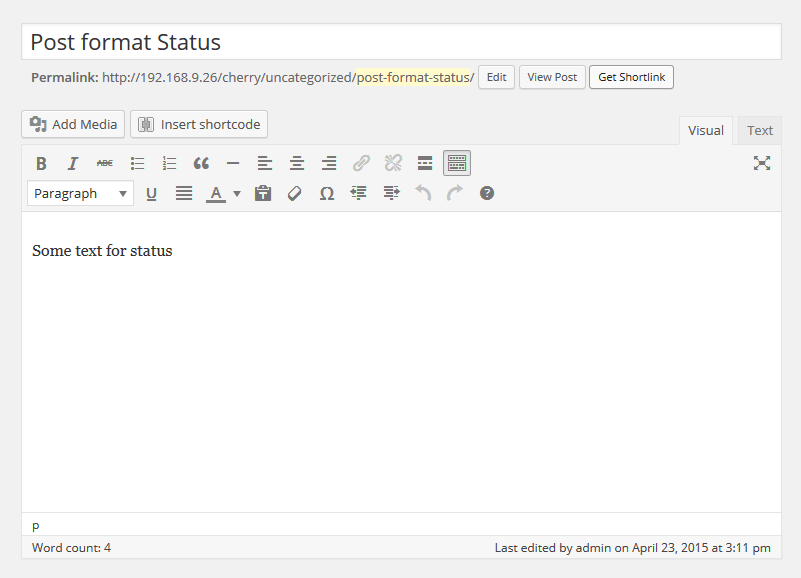
Status
Status post is a message with content limited to 140 symbols. It is displayed with the author avatar.
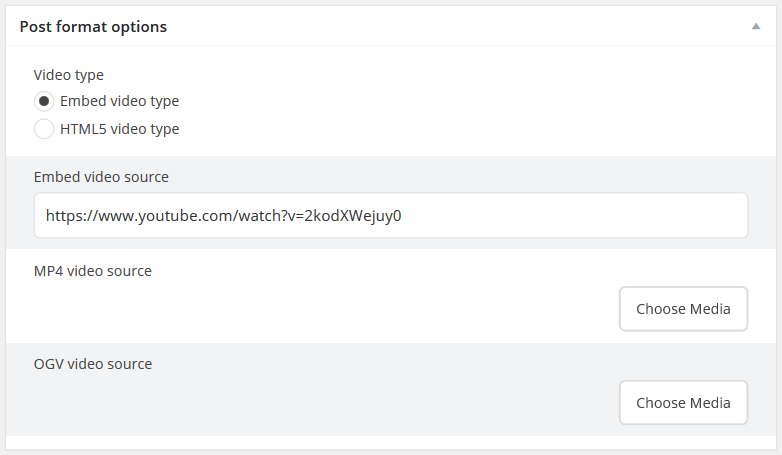
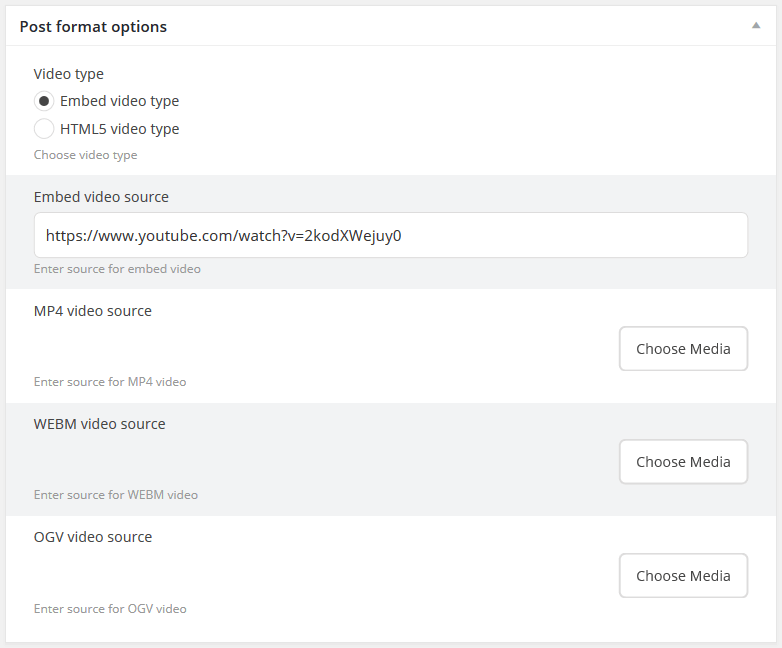
Video
Video post is used to publish video content.
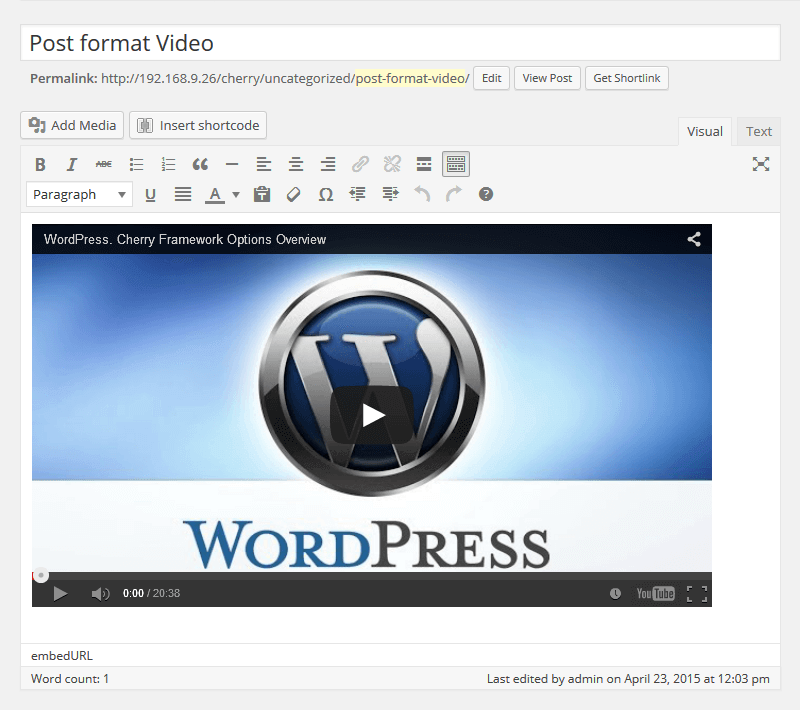
There are two ways to add video into the post:
- Embedded Code - used to add video from external sources like Youtube, Vimeo, etc.
- Add video through media library.
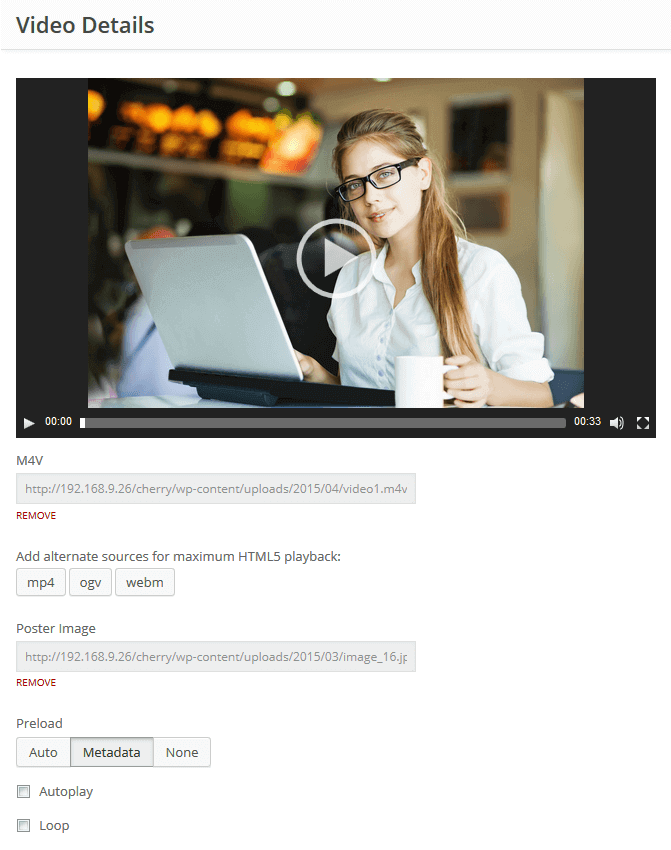
You can edit the following fields in settings:
- M4V - direct link to video in m4v format with possibility to delete
- Add alternative source for maximum HTML5 playback - alternative source of various video formats (mp4, ogv, webm)
- Poster image - set an image for video poster
- Preload - set video preloader (auto, metadata, none)
- Autoplay - set video to autoplay
- Loop - loop video
Creating a Slider Post
Slides are custom type posts and that is a variation of default WordPress posts (blog posts for example).
- Click the Slider tab.
- Click Add New.
- Enter title of the slide.
- Upload an image using the Featured Image option (click Set featured image).
- You can use the following fields with a slide:
- Caption - field for the slide caption.
- URL - field for slide URL (external link can be used).
- Once the slide settings are set up, click Publish.
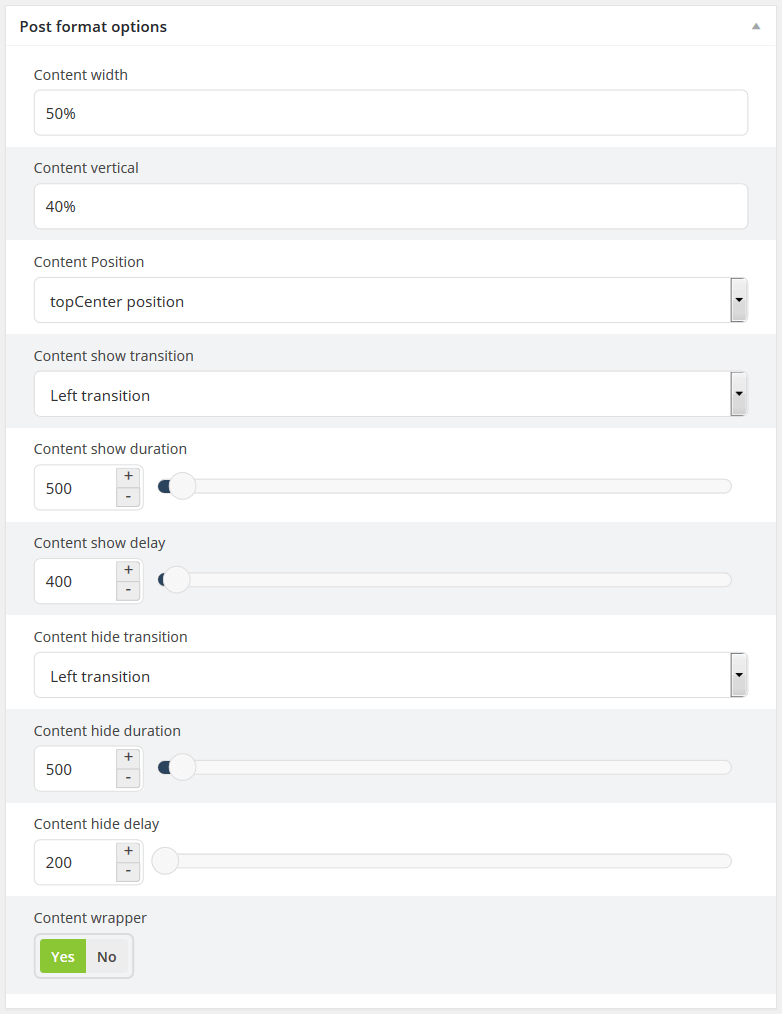
In slider posts you can also choose additional post formats:
-
Image
-
Video
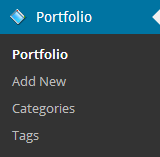
Creating a Portfolio Post
Cherry Portfolio is based on custom post type - Portfolio. To have the portfolio post format available, Cherry Portfolio plugin should be installed.
To add a new Portfolio post, click "Add New" in the portfolio section in the WordPress admin panel.
As Portfolio posts are a variation of default WordPress post, creating new posts should not be a problem. You can learn more about WordPress custom posts.
- Fill out all necessary fields (title, content).
- Upload an image using the Featured Image option (click Set featured image).
- Click Publish.
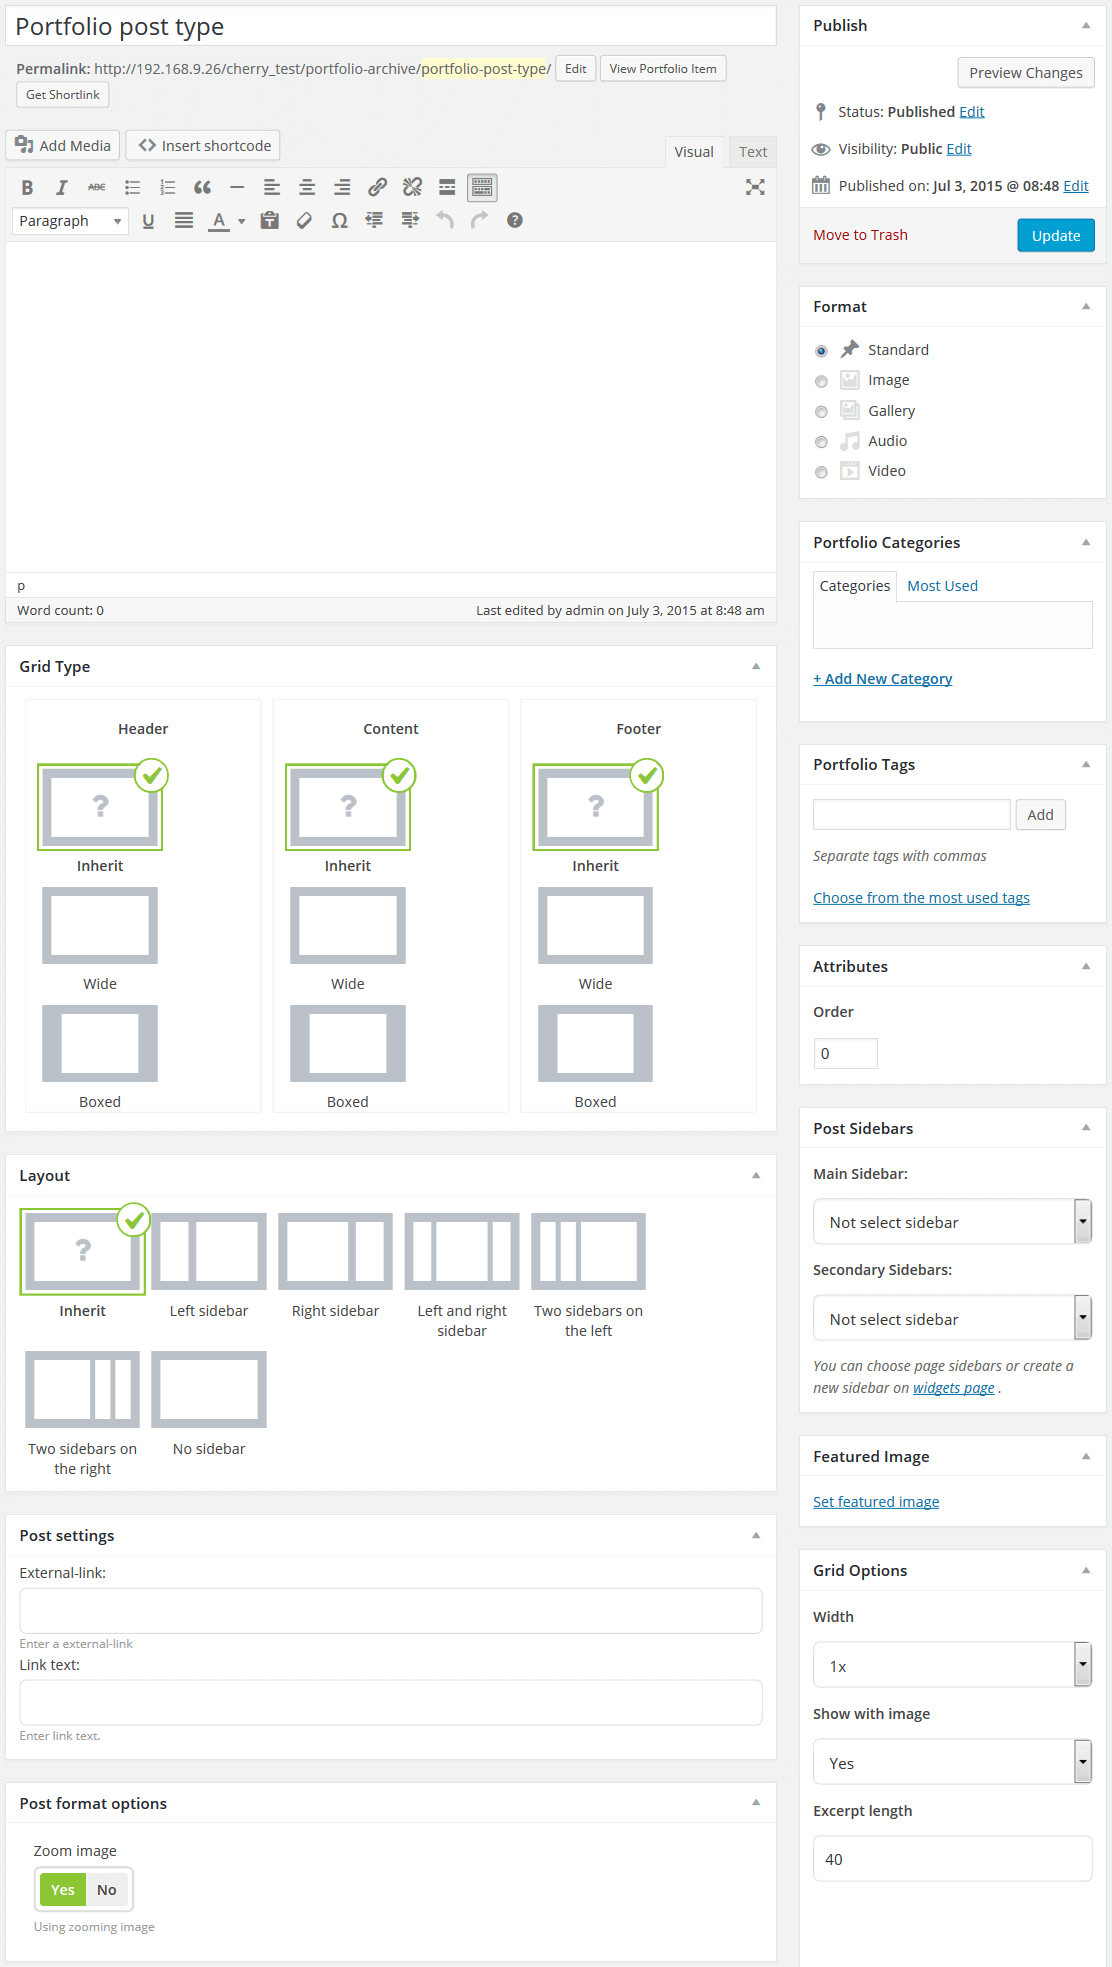
Choosing portfolio post format.
You can use the following post types in portfolio post:
-
Image - default gallery post type. Displays post image only.
-
Slideshow - gallery project is displayed in a slideshow. This gallery post type can contain unlimited number of images.
-
Grid Gallery - post images are displayed in a grid gallery. This gallery post type can contain unlimited images.
-
Video - you can add video from any video hosting like YouTube, Vimeo, etc using this gallery post type.
-
Audio - this gallery post type allows to add an audio file.
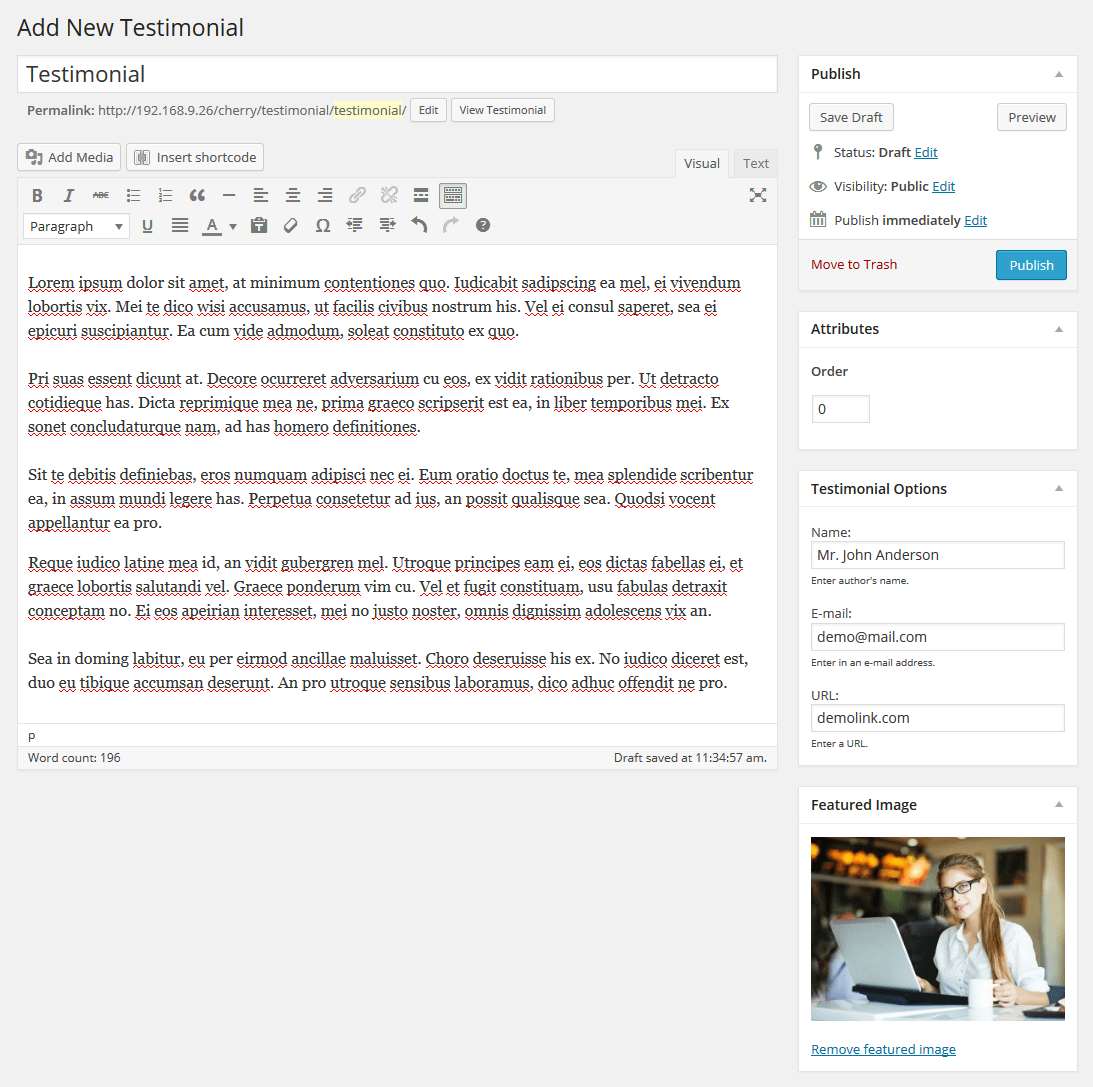
Creating a Testimonial Post
Cherry Testimonial is based on custom post type - Testimonial. To have the testimonial post format available, Cherry Testimonials plugin should be installed.
As Testimonials posts are a variation of default WordPress post, creating new posts should not be a problem. You can learn more about WordPress custom posts.
- Click the Testimonials tab.
- Click Add New.
- Fill out all necessary fields (title, content).
- Upload image using the Featured Image option (click Set featured image).
- You can use the following settings in a testimonials post:
- Name - author's name
- E-mail - author's email address
- URL - author's URL.
- Click Publish.
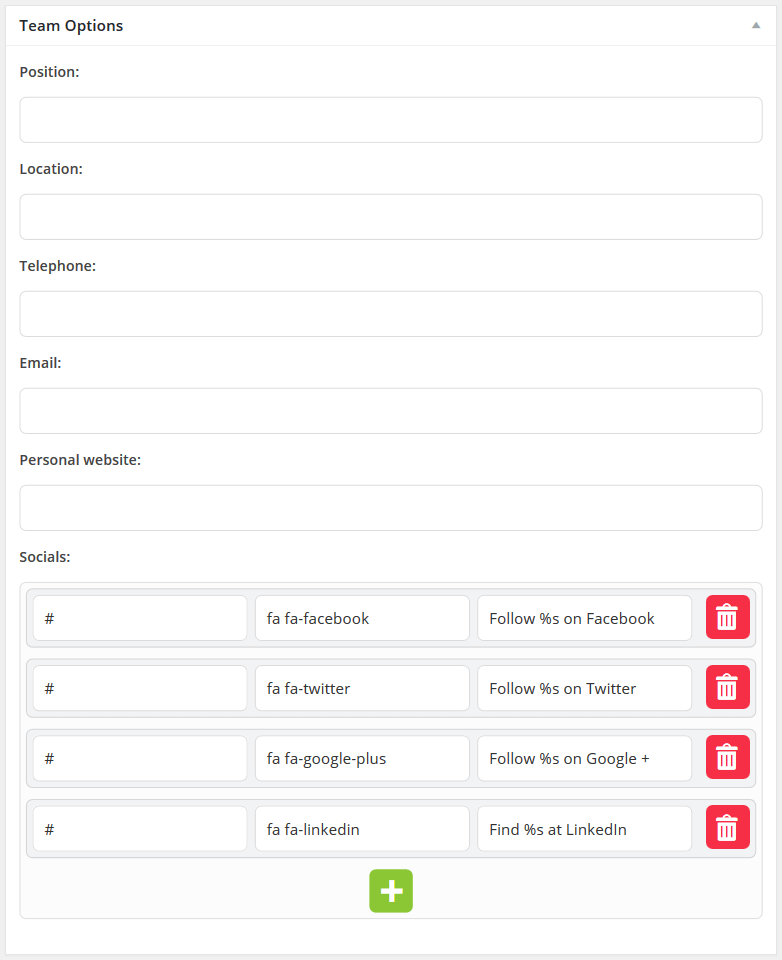
Creating "Our Team" Post
Cherry Team is based on custom post type - Team. To have the team post format available, Cherry Team plugin should be installed.
As Team posts are a variation of default WordPress post, creating new posts should not be a problem. You can learn more about WordPress custom posts.
- Click Our Team.
- Click Add New.
- Fill out all necessary fields (title, content).
- Upload image using the Featured Image option (click Set featured image).
- You can use the next settings in "Our team" post:
- Position - a person's position
- Info - additional information
- Click Publish.