Monstroid Premium Theme Documentation
Plugins
As the framework is developed on module structure, its functionality can be extended with the help of plugins.
Cherry Shortcodes Template Editor
Cherry Shortcode Template Editor plugin allows to create unique shortcodes templates.
- Log into the WordPress dashboard.
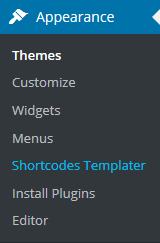
- Click the Appearance tab.
- Click Shortcode Template Editor.
If you did not create any shortcode templates, you will see the welcome message only.

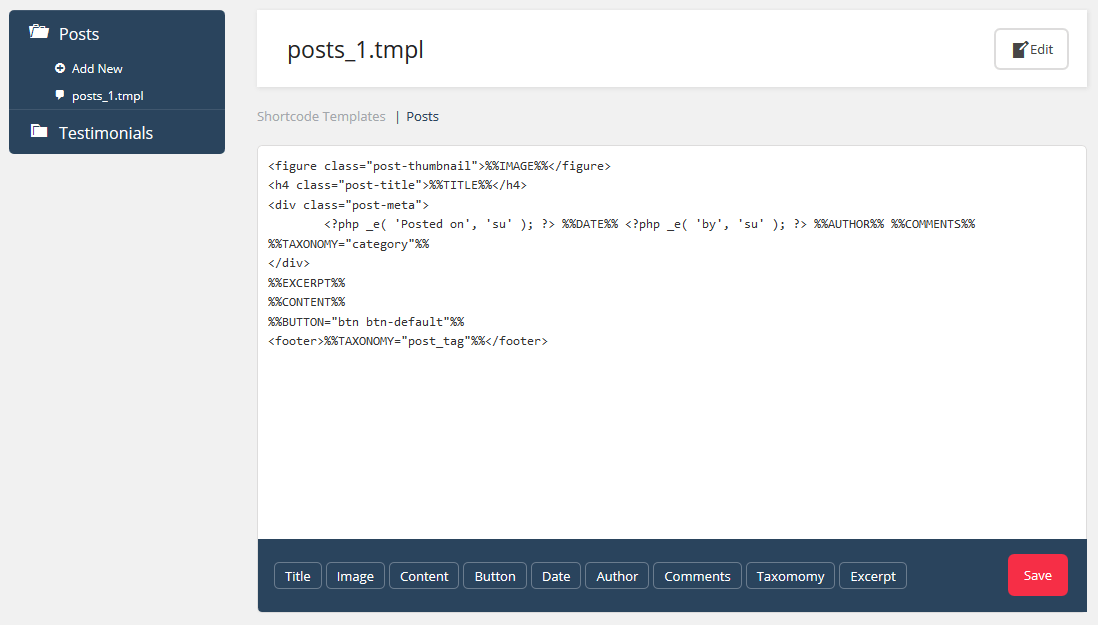
First, choose the necessary shortcode and click Add new.

Now you can create a new template based on the default one. It will get a name with an ordinal prefix and shortcode name [Shortcode Name][N], e.g. post_1. The shortcode template name will be displayed in the list and in the visual editor title. The template will be physically stored in the \wp-content\uploads\templates\shortcodes\shortcodes_name\*-N.tmpl directory.
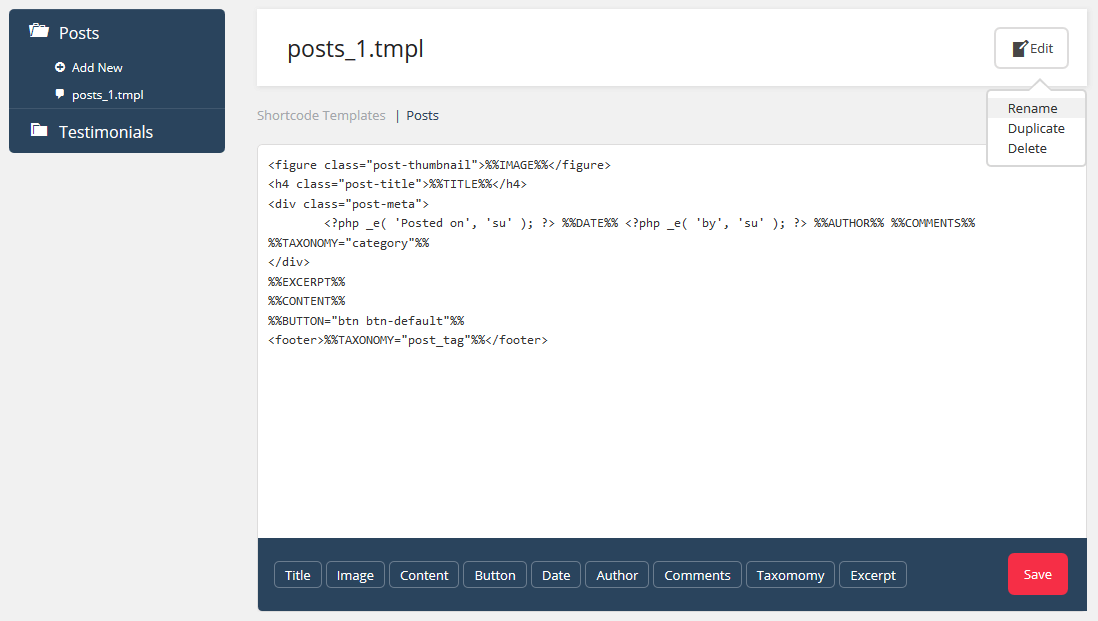
You can rename, copy and delete the template. While copying, Duplicate the template. It will get a name with an ordinal prefix (by analogy with the new template) but with the structure of current template instead of the default template.
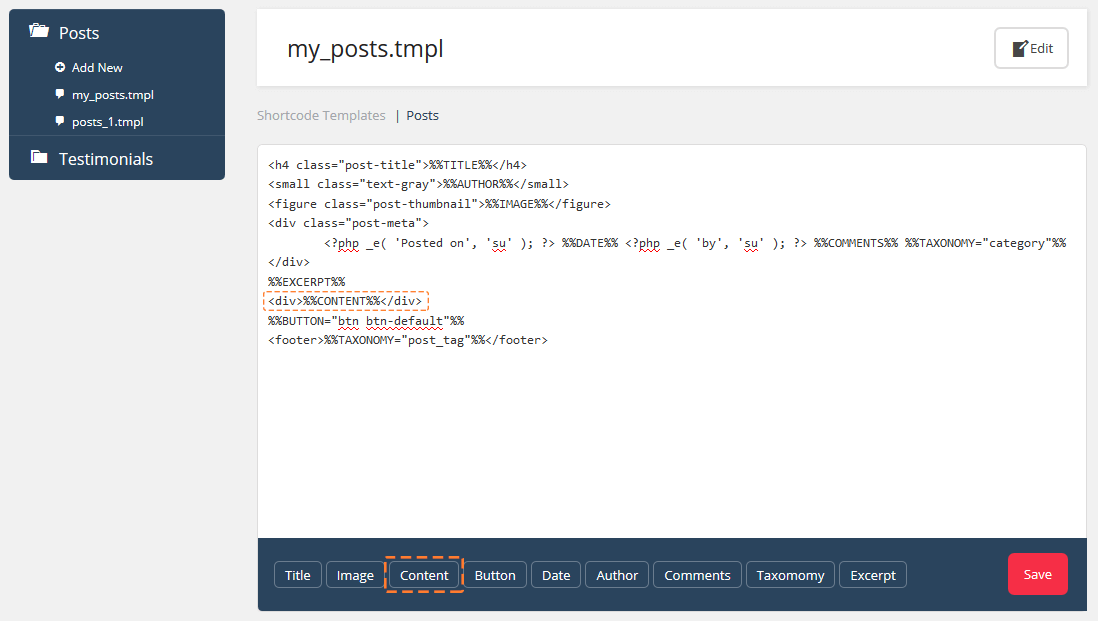
Shortcode template editor allows you to create your own markup, display necessary Macros and set up display parameters in some of them. For example, clicking the Content button, you will generate the %%CONTENT%% macro which will display post content on the website.
Cherry Shortcodes
Cherry Shortcodes plugin that helps you to work with shortcodes (pre-set shortcodes are used by default). Moreover, modified and new shortcodes are described in Shortcodes.
- Log into the WordPress dashboard.
- Click the Posts tab.
- Click Add New.
Cherry Blog Layouts
Cherry Blog Layouts plugin adds "Blog Layout" shortcode and additional section options to Cherry options
Cherry Services
Cherry Services plugin adds a new post type called "services." Services posts have additional settings to form attractive blocks for service description. You can work with service posts the same way you would work with regular posts. Service posts can be arranged into categories for better navigation.
After the plugin is installed and activated, you will see the Service tab in the WordPress dashboard where you can work with services posts and categories.
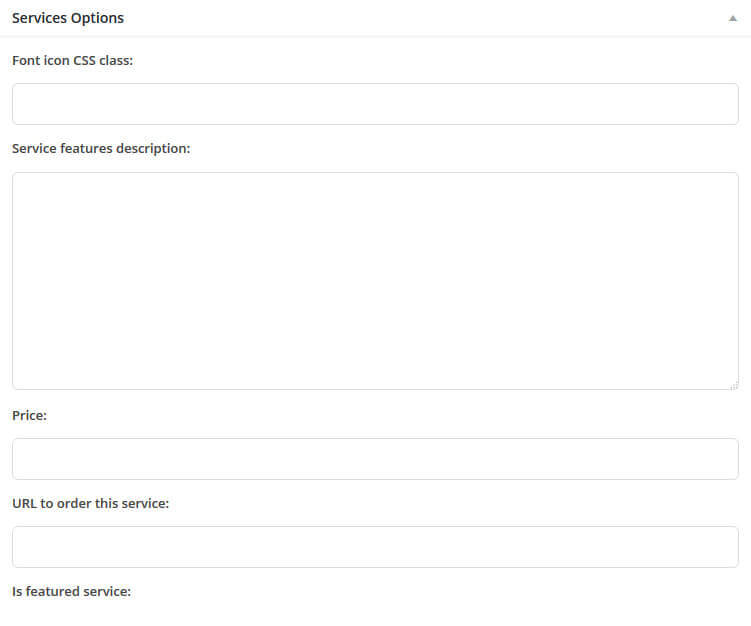
Services posts have the following settings:
- Font icon CSS class
- the CSS class of service description block icon
- Service features description
- brief description of the service
- Price
- price
- URL to order this service
- service URL
- Is featured service
- is this service popular?
Cherry Charts
Cherry Charts plugin is used to create various charts and diagrams. The plugin's rich collection of diagram and chart types enhanced by advanced settings allows you to create a chart that fully fits your requirements.
After the plugin is installed and activated, you will see the Charts tab in the WordPress dashboard where you can work with diagrams and charts.
Click "Charts > Add New Chart" to create a new diagram. Enter title and required settings on the chart page.
Four types of diagrams are available: progress bar, pie, doughnut, bar. You can choose the one you need by clicking Chart type. Diagram settings depend on the diagram type you have chosen. Let's take a closer look at each one.
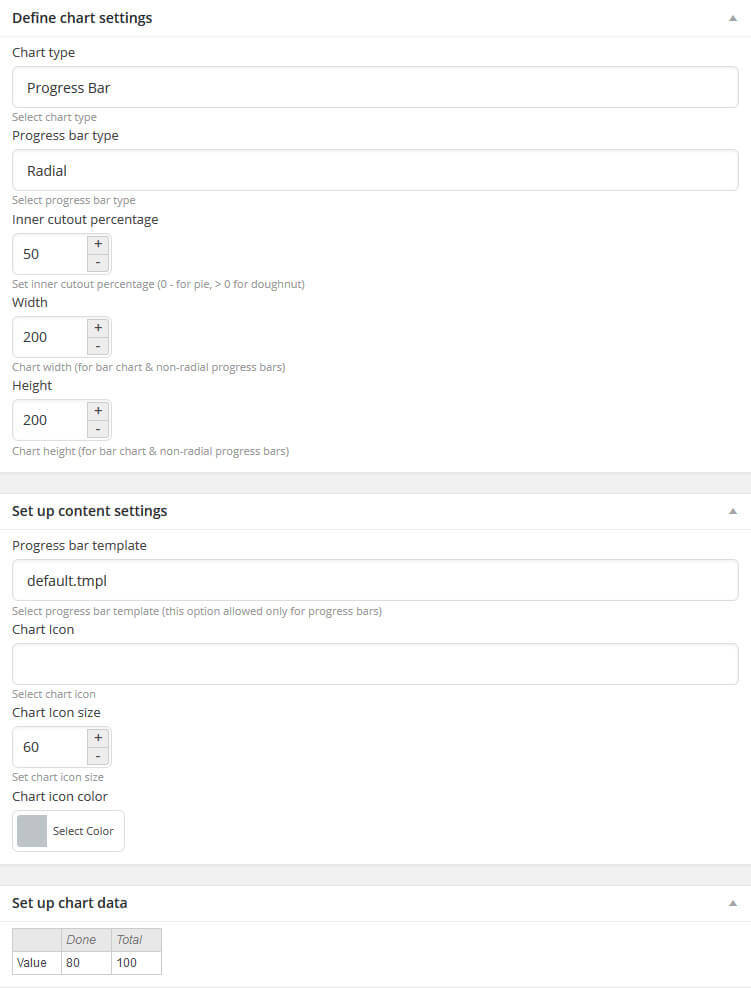
Progress bar
Chart settings
Progress bar has the following settings:
- Progress bar type
- progress bar type (radial, horizontal, vertical).
- Inner cutout percentage (radial only)
- inner contour size.
- Width
- diagram width.
- Height
- diagram height.
Content settings
- Progress bar template
- diagram template.
- Chart icon
- diagram icon class.
- Chart icon size
- icon size.
- Chart icon color
- diagram icon color.
Chart data
You can enter diagram data in this section.
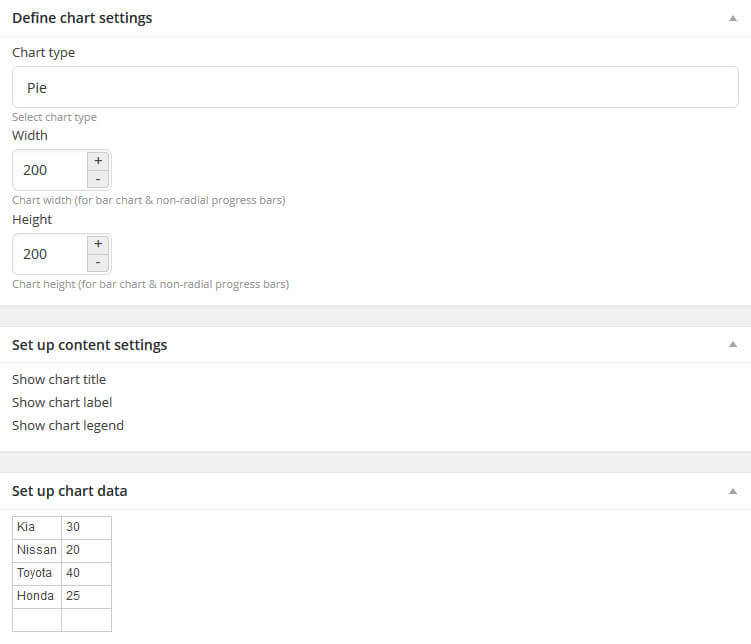
Pie and doughnut
Chart settings
Pie and doughnut has these settings:
- Width - diagram width.
- Height - diagram height.
Content settings
- Show chart title - display diagram title.
- Show chart label - display diagram label.
- Show chart legend - display diagram legend.
Chart data
You can enter diagram data in this section.
Bar
Bar diagram settings match pie and doughnut settings (check description above). The only difference is the diagram data table.
Chart data
You can enter diagram data in this section.
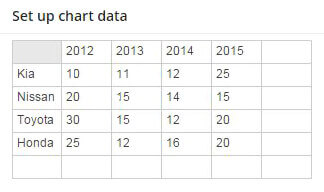
Chart Style
In this section you can set up the color formatting of the diagram. You can change elements, background colors and opacity, thickness and color of lines.
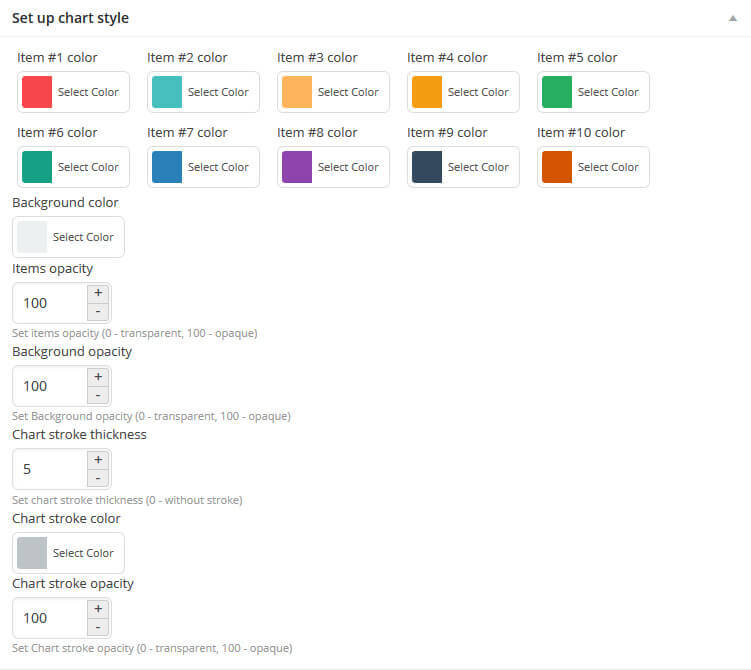
Chart Shortcode
After you are done with the chart settings, you can embed it into post or page content using a shortcode.

Cherry Data Manager
Cherry Data Manager plugin is used to export/import website data.
Export
Export is used to transfer website data from one server to another and to create backups. Click "Tools > Cherry Export" and then click "Export Content" to use the export feature. As a result, you will get an archive with website data.
Import
- Click Tools > Cherry Import.
- If server settings are correct, you will see the loading screen. Open the "theme/sample_data" template folder and upload the file into WordPress. You need to choose all files in the "theme/sample_data" folder (hot keys CTRL+A or Command+A), drag and drop them into the field.
- Upload files located in the sample_data folder including .JSON and .XML. Once files are uploaded, click
"Continue Install."
ATTENTION: .JSON and .XML files are required for sample data installation. The Continue Install button will activate only after you upload .XML and .JSON files.
- "Continue Install" button will start the process of sample data installation. Installation will take some time (depending on the server settings). Please wait till it is done.
- Congratulations! You have successfully installed Cherry WordPress theme and now you can check how it looks.
Cherry Team
Cherry Team plugin adds a new post type called " Team ." "Team" posts have additional settings for your team members posts formatting. You can work with team posts in the same way as you would work with regular posts. Team posts can be arranged into categories for better navigation.
After the plugin is installed and activated, you will see the Team tab in the WordPress dashboard where you can work with posts and categories.
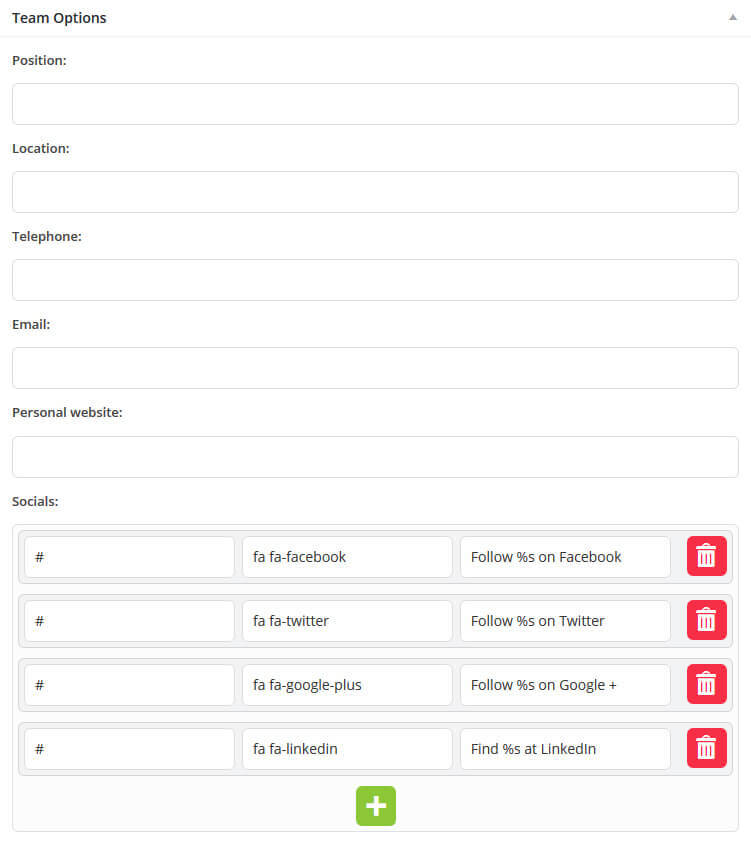
Team posts have the following settings:
- Position - employee position
- Location - employee location
- Telephone - employee phone
- Email - employee email
- Personal Website - employee personal website URL
- Socials - employee social accounts.
Cherry Testimonials
Cherry Testimonials plugin adds a new posts type called " Testimonials ." "Testimonials" posts type has additional settings for formatting your website/organization/products testimonials. You can work with testimonials posts in the same way as you would work with regular posts.
After the plugin is installed and activated, you will see the Testimonials tab in the WordPress dashboard where you can work with testimonials posts.
Testimonial posts have these settings:
- Name - testimonial author name
- Email - testimonial author email
- URL - testimonial author website URL.

Cherry Portfolio
Cherry Portfolio plugin adds a new post type called " Portfolio ." "Portfolio" posts have additional settings for portfolio formatting. You can work with portfolio posts in the same way as you would work with regular posts. Portfolio posts can be arranged into categories for better navigation.
After the plugin is installed and activated, you will see the Portfolio tab in the WordPress dashboard where you can work with portfolio posts and categories.
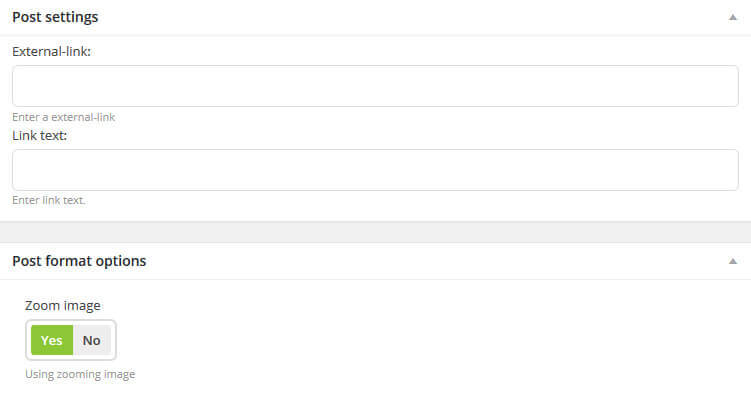
Portfolio posts have the following settings:
- External-link - external URL
- Link text - URL text
- Zoom image - enable/disable image zooming.
Cherry Mega Menu
Cherry Mega Menu plugin allows you to create multi-column menu drop-downs. It also lets you display necessary information in the main menu.
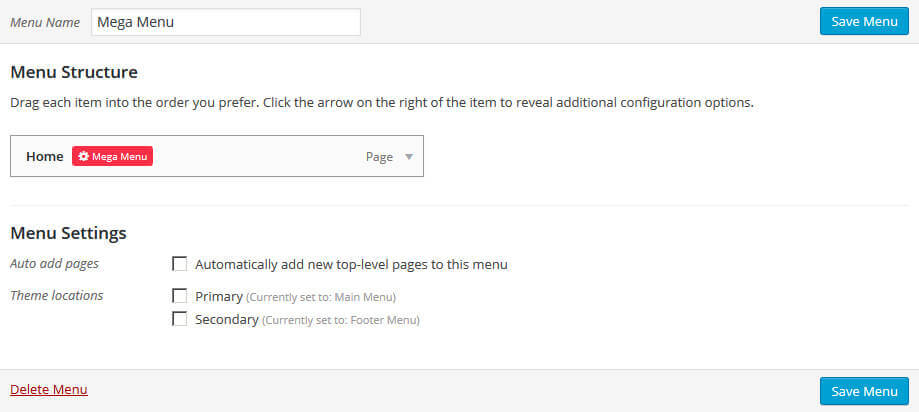
After the plugin is installed and activated, you can navigate to "Appearance > Menus" in the WordPress dashboard. Hover over the menu tab and click the Mega Menu icon.
Here you can work with Mega Menu.
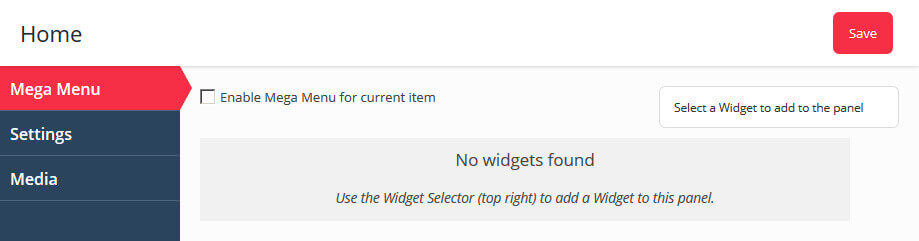
Click "Enable Mega Menu for current item" to activate the Mega Menu for a specific menu item.
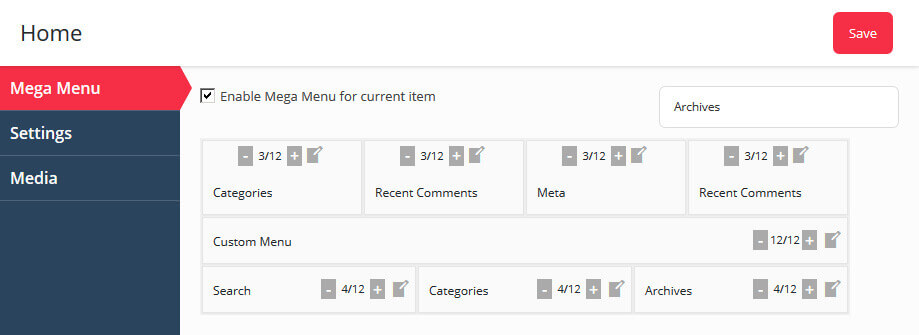
Mega Menu
You can place necessary widgets in the drop down block of the current menu item in the Mega Menu section. Each widget can have its own width and height.
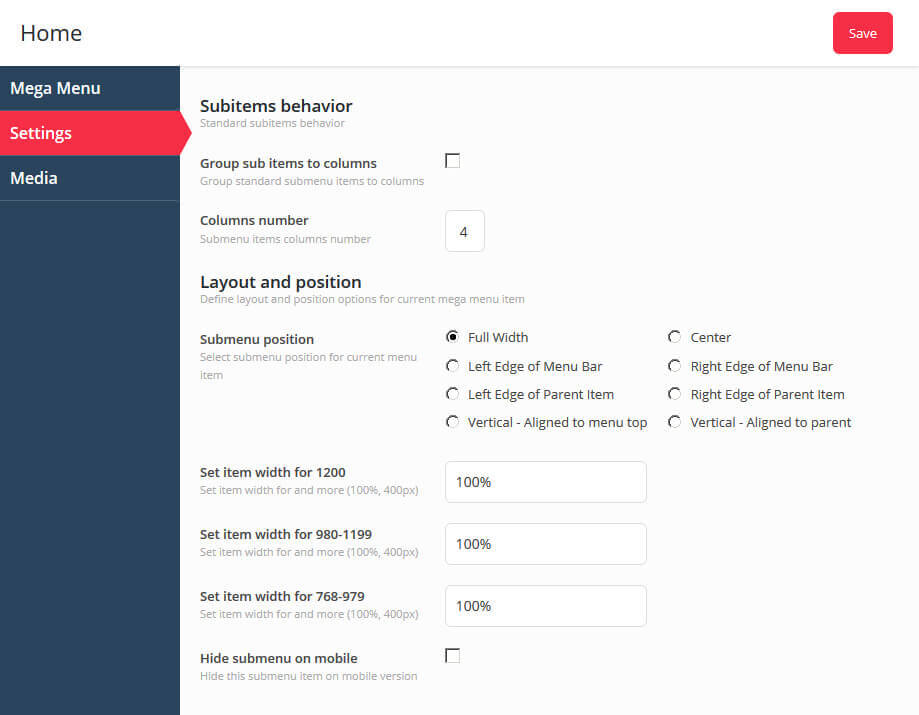
Settings
Here you can find menu item settings.
A menu item has the following settings:
- Group sub items to columns - group sub-menu items into columns
- Columns number - number of columns in megamenu
- Submenu position - sub-menu position
- Item width - width of megamenu for different resolutions
- Hide submenu on mobile - enable/disable megamenu on mobile devices.
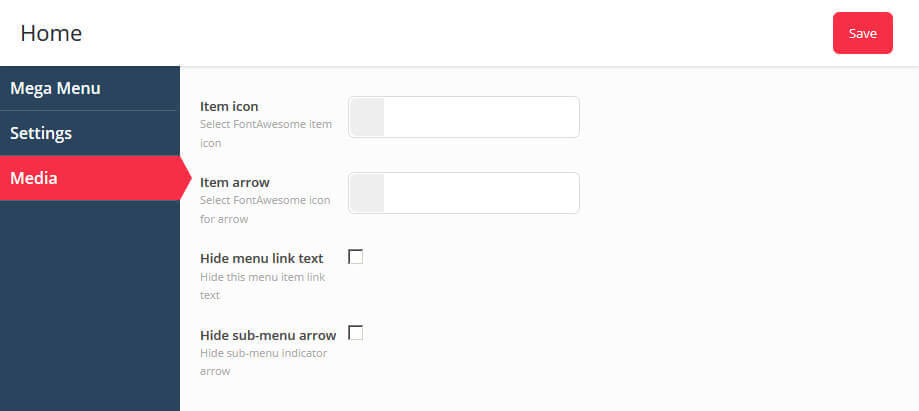
Media
It allows you to add an icon to each menu item. In this section you can choose an icon for the menu item, choose arrow style, hide menu text or arrow.
Cherry Simple Slider
Cherry Simple Slider plugin adds a new post type called "Slides." "Slides" posts have additional settings for slides formatting. You can work with slides posts in the same way as you would work with regular posts. Slides posts can be arranged into categories (sliders) for better navigation.
After the plugin is installed and activated, you will see the Slides List tab in the WordPress dashboard where you can work with slides posts and categories.
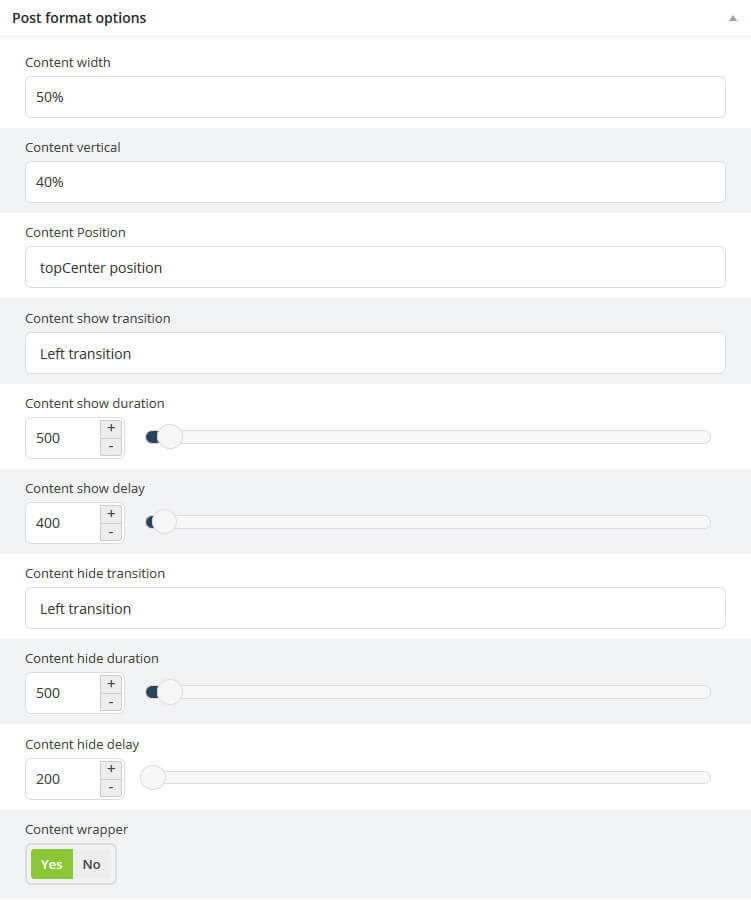
Slides posts have the following settings:
- Content width - slide content width
- Content vertical - slide content height
- Content Position - slide content position
- Content show/hide transition - enable/disable slide animation
- Content show/hide duration - duration of slide animation
- Content show/hide delay - pause duration between slides
- Content wrapper - wrap content into additional block.
Cherry Sidebar Manager
Cherry Sidebar Manager plugin is used to create custom sidebars with specific sets of widgets.
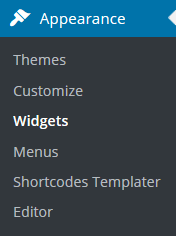
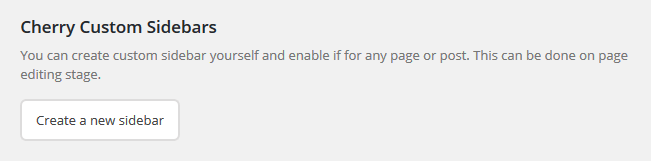
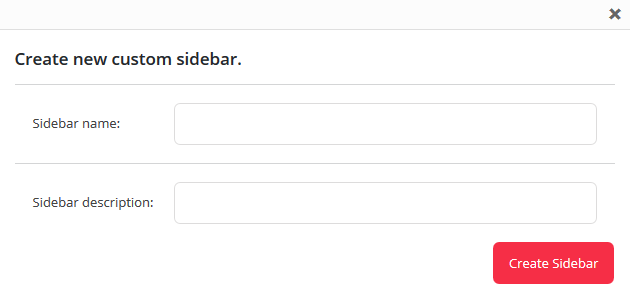
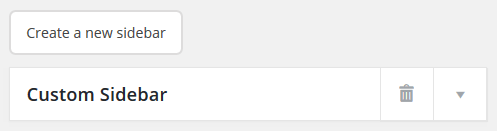
To add a new sidebar, go to the Appearance > Widgets section and click Create a new sidebar.
Input Sidebar name and Sidebar description. Then click Creating Sidebars.
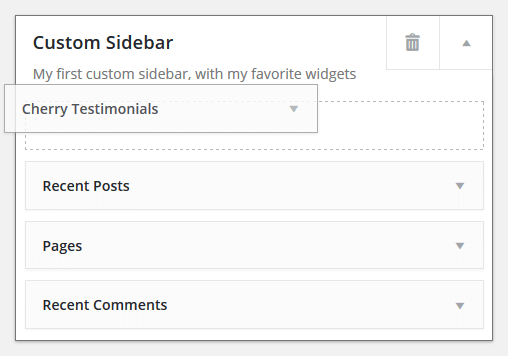
You can arrange your widgets set in your sidebar by adding new ones, changing the order of widgets and removing unused ones.
Post/Page plugin settings
When the Sidebar Manager plugin is active, you will see the following options on the post and page editing screens:
- Main Sidebar - list of available main sidebars
- Secondary Sidebars - list of available secondary sidebars
- Widgets page - widgets editing screen.

Cherry Social
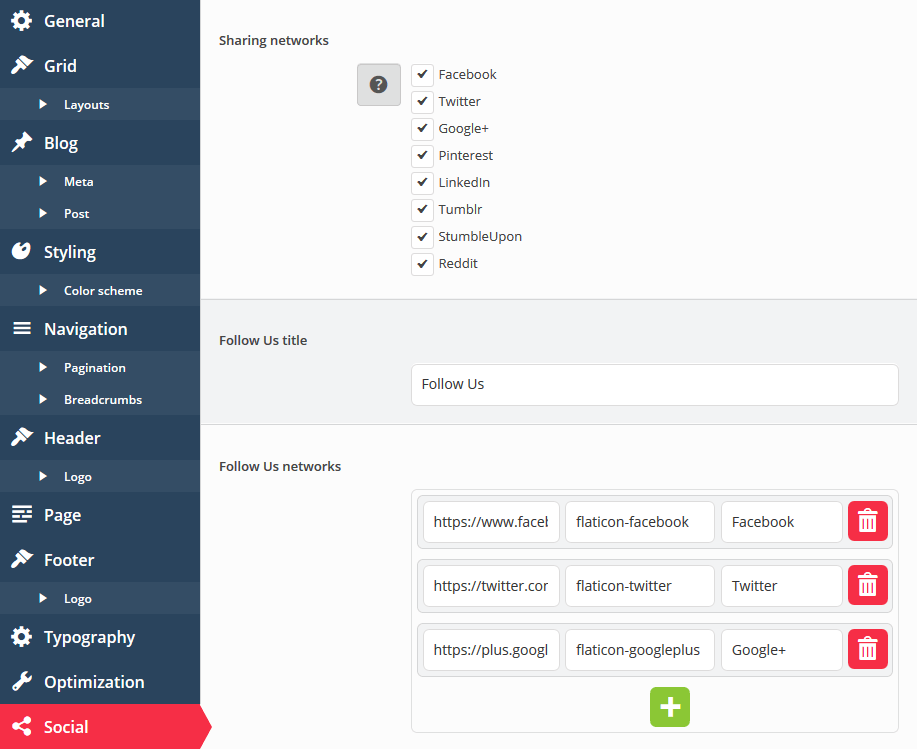
Cherry Social plugin is used to add sharing and follow lists on your website.
Choose social network for sharing
- Facebook URL - Facebook page URL.
- Twitter - Twitter page URL.
- Google+ URL - Google+ page URL.
- Pinterest URL - Pinterest page URL.
- Linkedin URL - Linkedin page URL.
- Tumblr - Tumblr page URL
- StumbleUpon - StumbleUpon page URL.
- Reddit - Reddit page URL.
Title will be used in static item
You can set up the list of social accounts and edit the URL, icon and title.
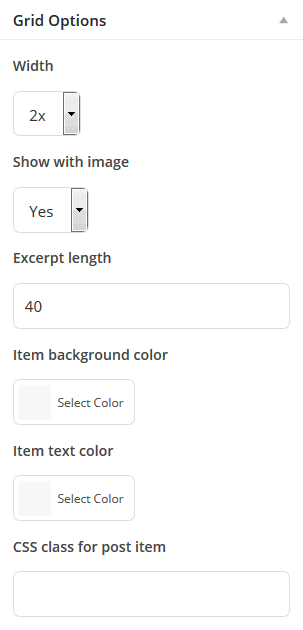
Cherry Grid
Cherry Grid plugin adds "Grid" shortcode and additional layout options to Posts and Pages screens.
Testimonials post gains additional settings:
- Width - width of the element
- Show with image - check if you want to show post images
- Excerpt length - post excerpt length
- Item background color
- Item text color
- CSS class for post item
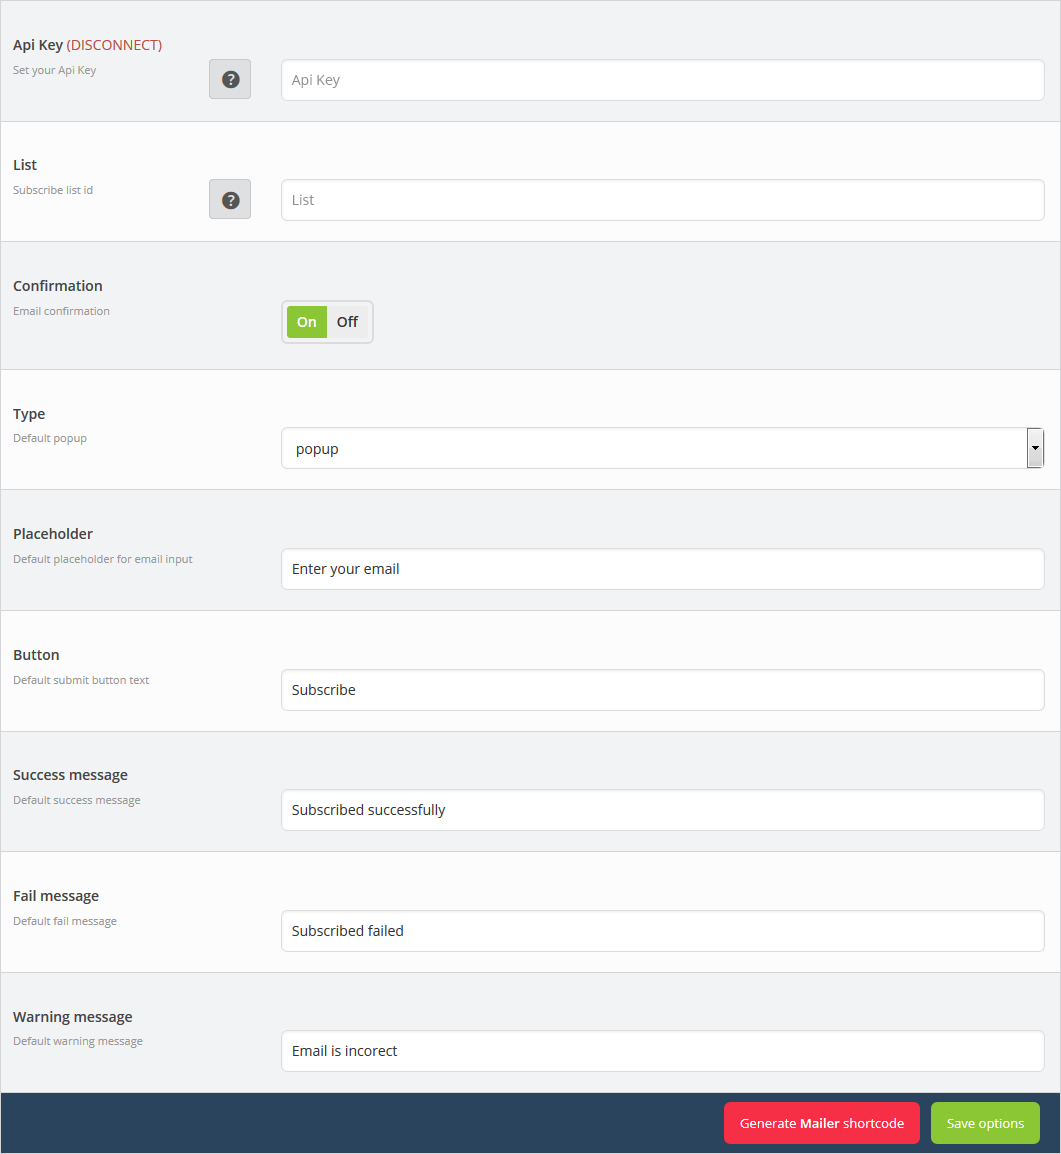
Cherry Mailer
Cherry Mailer - the plugin to manage mailing list subscriptions and allows to implement newsletter subscription for visitors.
Plugin settings:
-
- Api Key (DISCONNECT)
- Set your Api Key - API stands for application programming interface. It can be helpful to think of the API as a way for different apps to talk to one another base.
-
- List
- Subscribe list id - Each MailChimp list has a unique List ID that integrations, plugins, and widgets may require to connect and transfer subscriber data.
-
- Confirmation
- Email for confirmation
-
- Placeholder
- Default placeholder for email input
-
- Button
- Default submit button text
-
- Success message
- Default success message
-
- Fail message
- Default fail message
-
- Warning message
- Default warning message
-
- Button which Generate Mailer shortcode
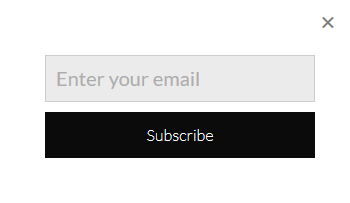
Paste this shortcode to page content section, which you want to use as subscription.
[cherry_mailer placeholder="Enter your email" button_text="Subscribe" success_message="Subscribed successfully" fail_message="Subscribed failed" warning_message="Email is incorect" popup_is="true"]
Subscribe form
Cherry Chat
Cherry Chat plugin adds live chat application to your WordPress administration panel. Using this live chat you can get 24/7 assistance on working with Cherry Framework and Cherry plugins.
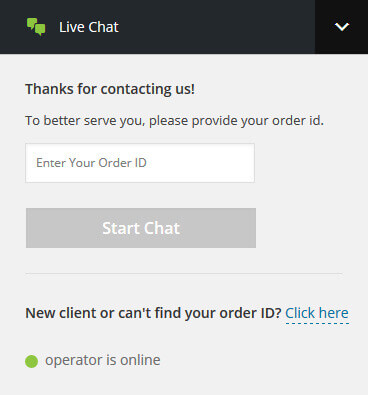
Live Chat is available in right bottom corner of the WordPress admin panel.
If you purchased Cherry Framework theme, you can use your order ID to contact technical support team and get immediate assistance.
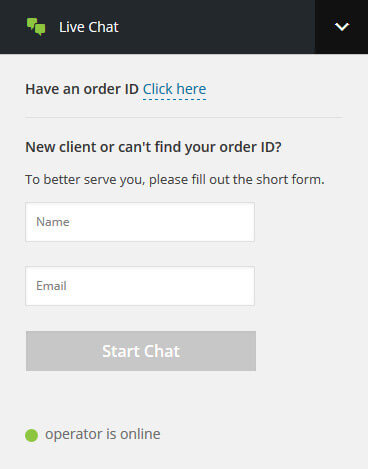
If you do not have an order ID, you can also contact live chat support by entering your name and email.
On clicking "Start Chat" button, you'll be connected to the first available operator.
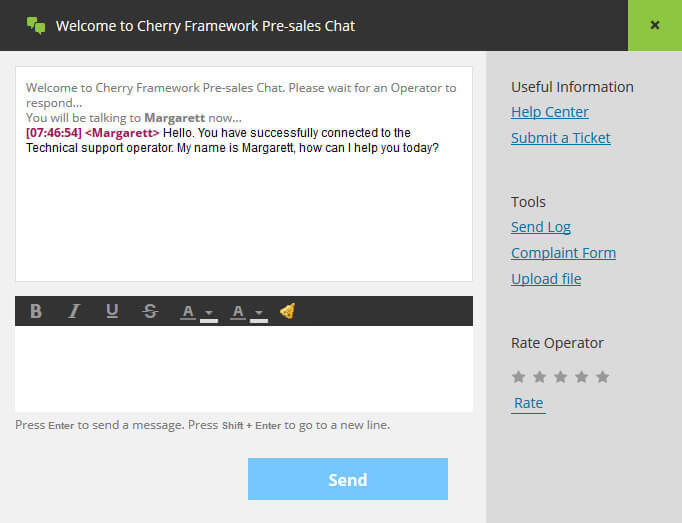
Talking with chat operator you can also use chat tools:
- Help Center - open online help center where you can view various text and video tutorials;
- Submit a ticket - if your issue can not be resolved in live chat, you can use online help desk and submit a ticket;
- Send log - using this link you can have your chat session log sent to your email address;
- Complaint form - used in case you are not satisfied with the quality of chat services;
- Upload file - you may need to send some files to the chat operator to demonstrate your issue;
- Rate Operator - when your chat session is done, you can rate chat operator.
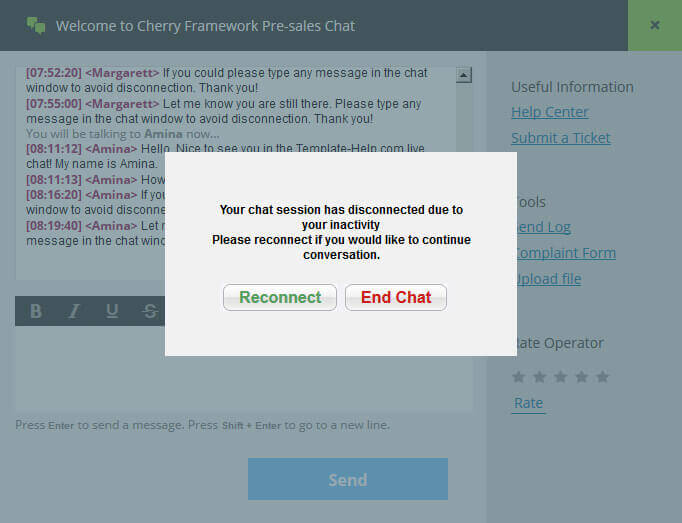
If there are any connection issues while you are working in the chat, you'll see such notification window. Click "Reconnect" to restart chat or "End chat" to close chat window.
Live Chat can be disabled in the same way as any other WordPress plugin in administration panel > Plugins section. Locate "Cherry Live Chat" plugin and click "Deactivate" button.
Cherry Rank
Cherry Rank - plugin is used for show ratings, likes / dislikes, as well as views counter.
On the main dashboard page “Cherry => Option => Blog => Additional post meta" here you can define settings, more.
With a help of macros you can set up how to show elements in template:
-
- %%LIKES%%
- To display the like counter
-
- %%DISLIKES%%
- To display the dislike counter
-
- %%VIEWS%%
- To display the view counter
-
- %%RATING%%
- To display the rating counter
Cherry White Label
Cherry White Label plugin lets you customize your site’s administration panel.
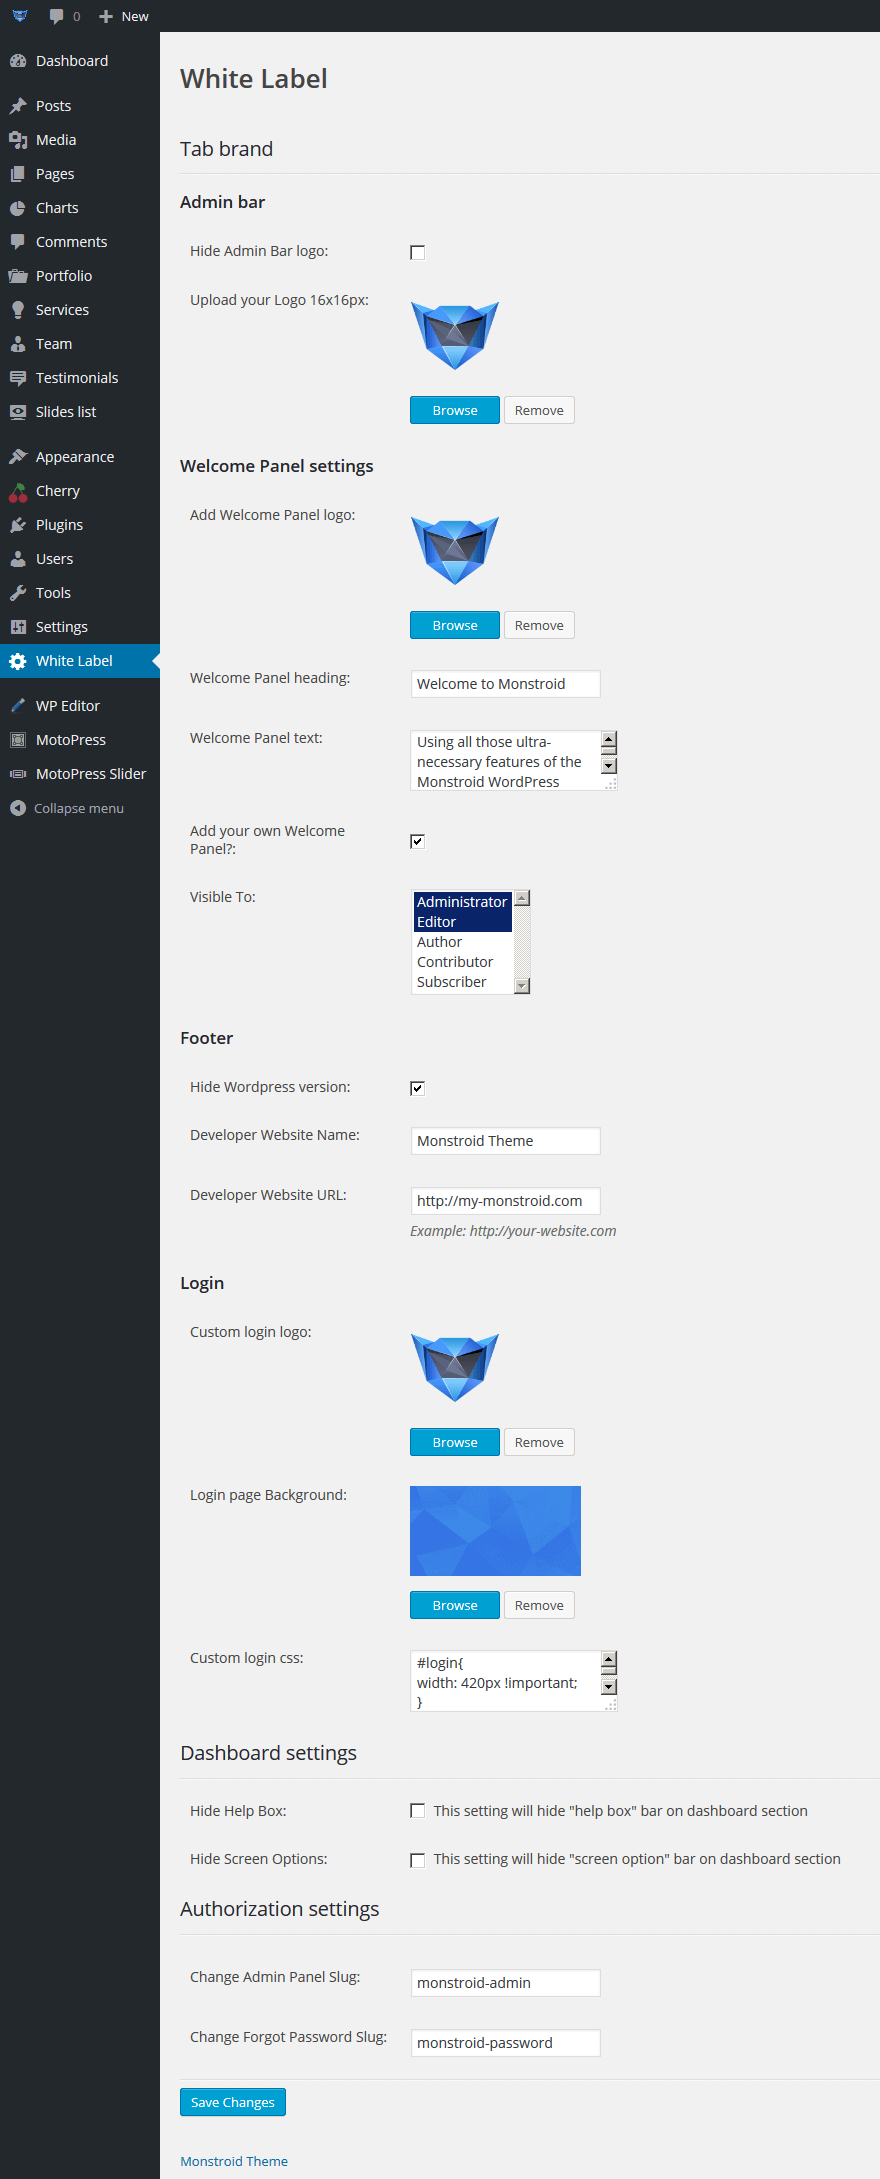
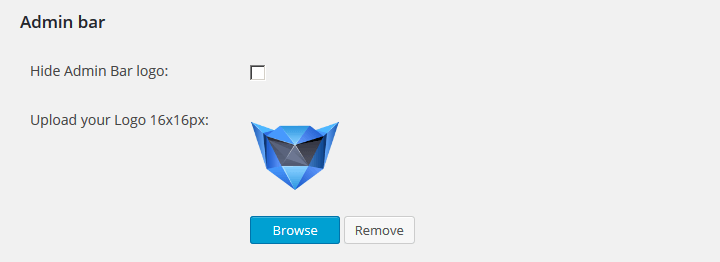
Admin bar
This section allows to:
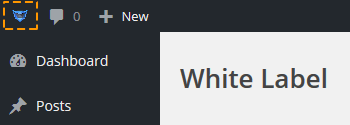
- Hide Admin Bar logo
- Upload your Logo 16x16px
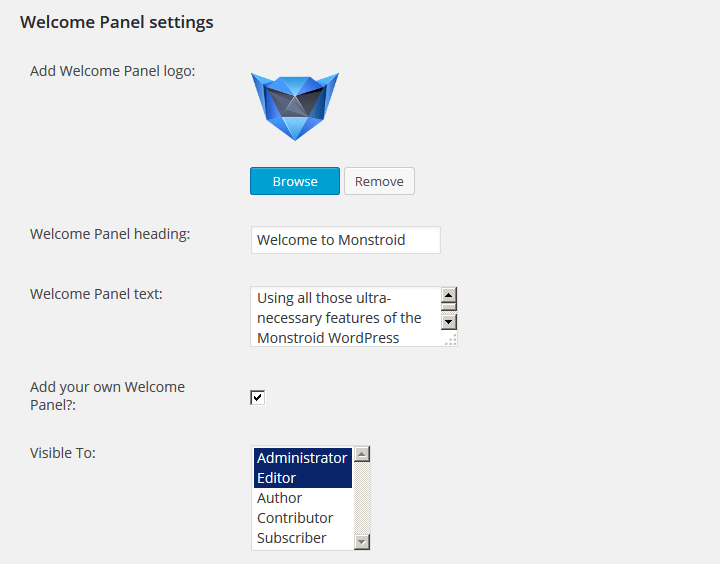
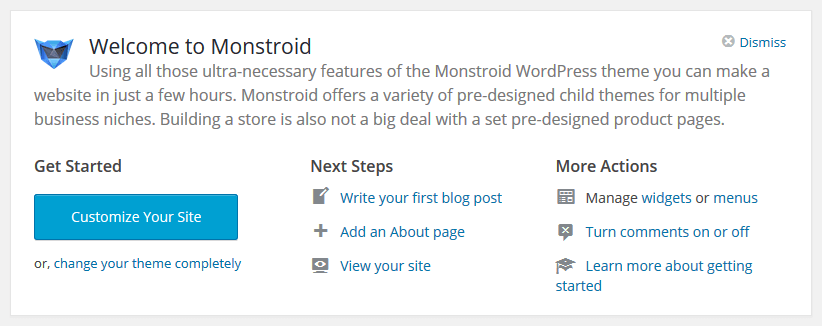
Welcome Panel settings
In this section, you can:
- Add Welcome Panel logo - cange the Welcome logo
- Welcome Panel Heading - change the welcome panel heading
- Welcome Panel text - edit the welcome panel text
- Add your own Welcome Panel? - set the visibility area
- Visible To - specific groups of users
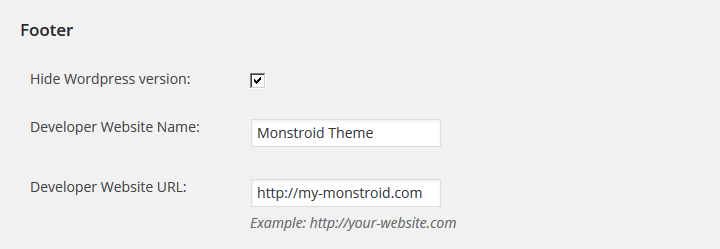
Footer
This section lets you:
- Hide Wordpress version - hide which version of Wordpress is used.
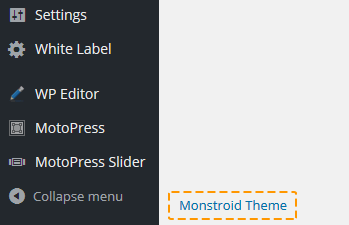
- Developer Website Name - change the website name
- Developer Website URL - change the website URL
Login
In this section, you can:
- Custom login logo - change the login panel logo
- Login page Background - change the login panel background image
- Custom login css - edit the login panel styles

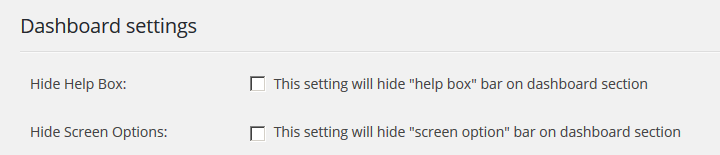
Dashboard settings
This section allows to:
- Hide Help Box
- Hide Screen Options
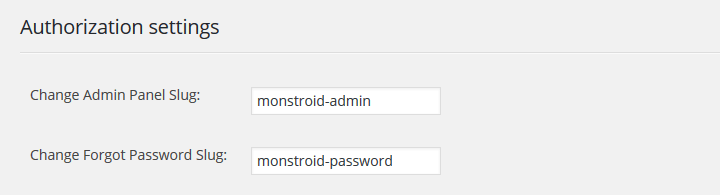
Authorization settings
In this section, you can:
- Change Admin Panel Slug
- Change Forgot Password Slug
Monstroid dashboard
On the main dashboard page Monstroid -> Dashboard
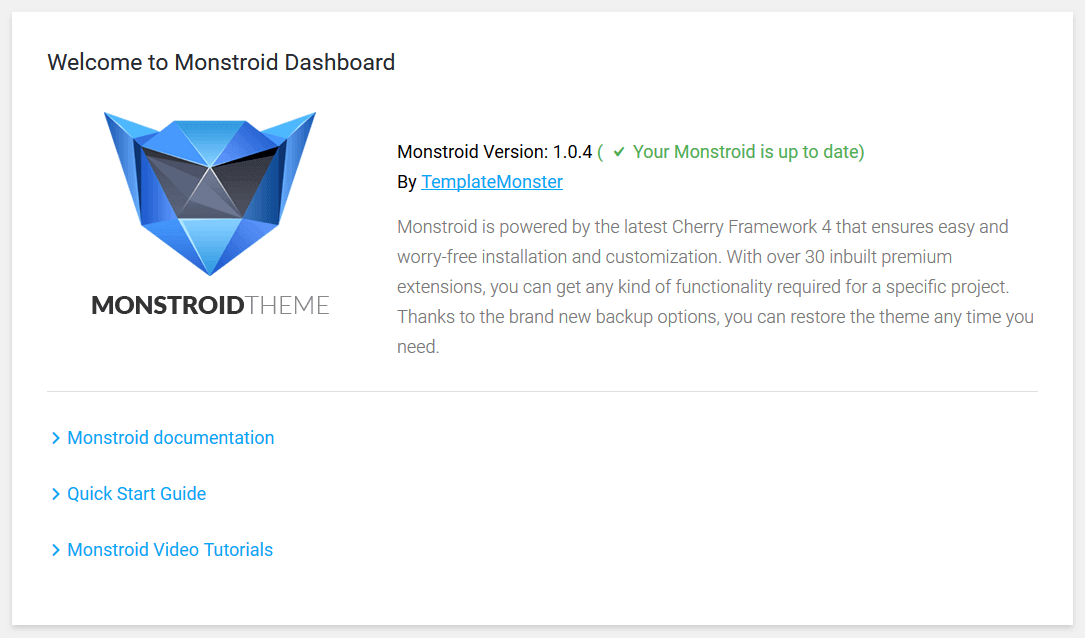
You can see current theme version, in case it is not up to date, you will see the following notice: “New Monstroid version available- 1.X.X”.
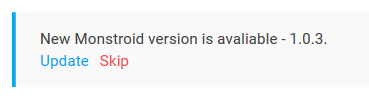
In this case you will see the option to update Monstroid or skip the notice. Besides this you can see the following links below:
- Monstroid documentation.
- Quick start guide.
- Monstroid video tutorials.
In order to start updating Monstroid, navigate to “Monstroid => Data manager”
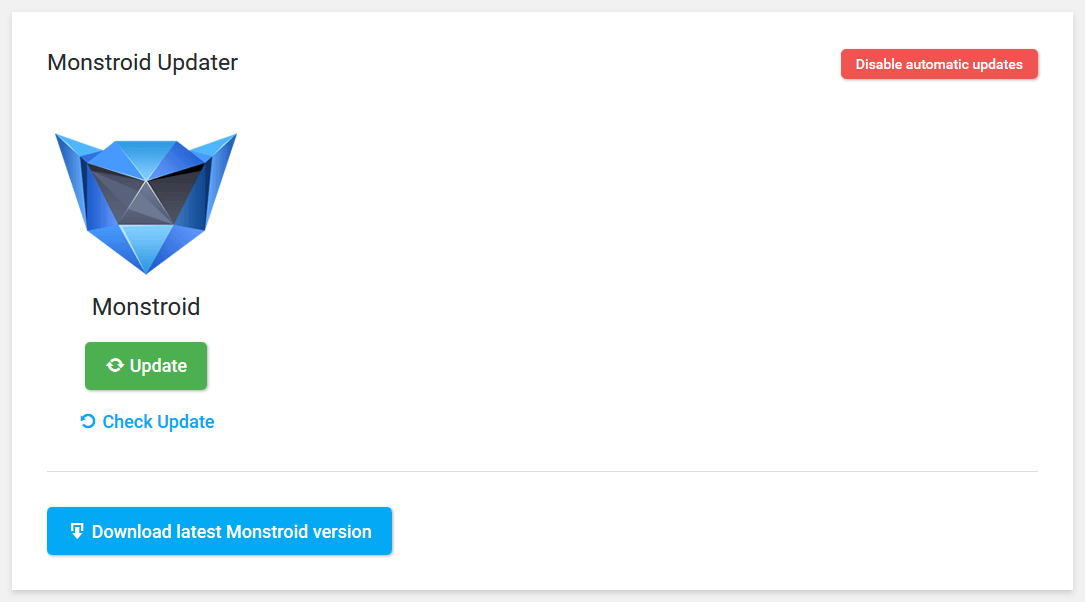
Attention! The update will be completed successfully only if you have not performed any changes to theme files, otherwise all the changes will be erased!
You can check for the available updates by clicking the Check for Updates button. “Check Update”. Click the Update button, after this plugin will backup your current theme and update the installed one.
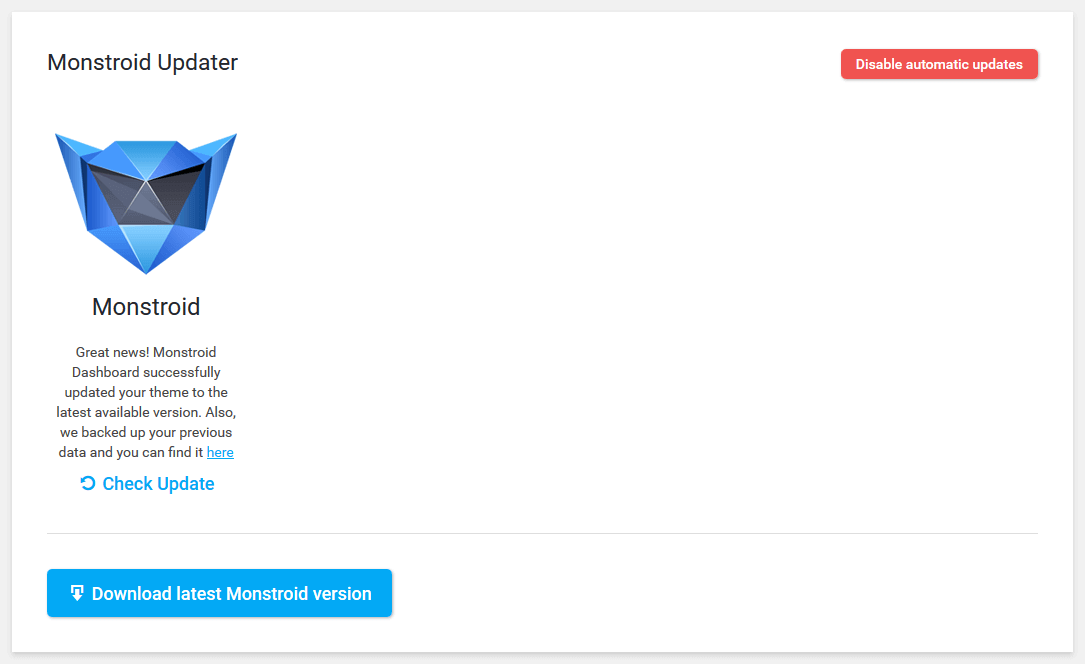
When the update is completed you will see the option to save the backup of the old theme to your computer.
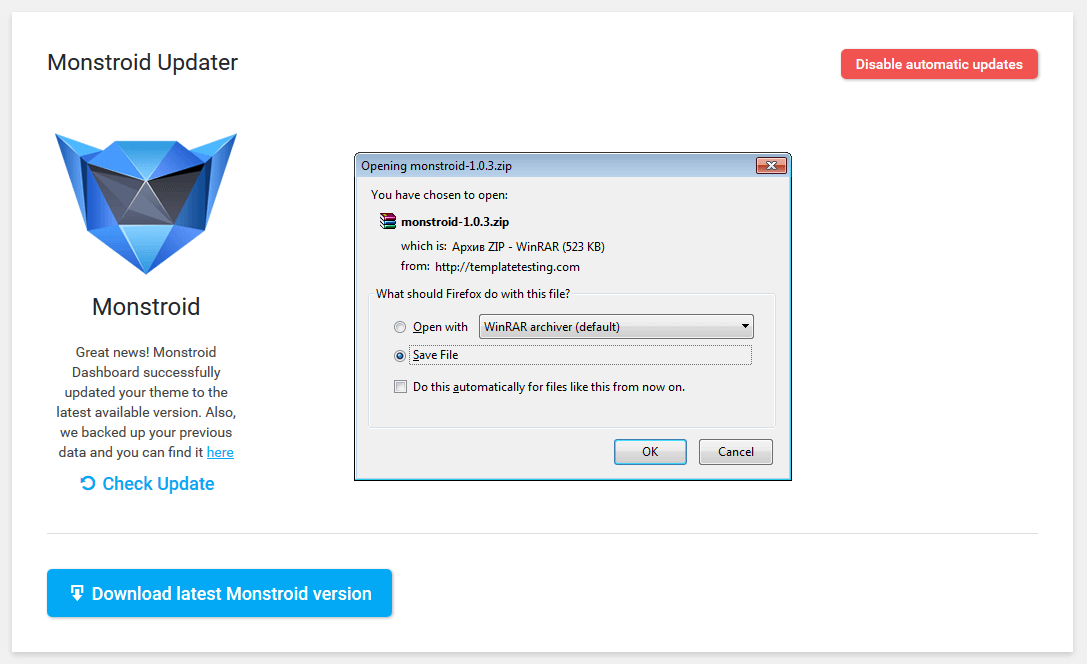
You will also have the possibility to download archives directly from your server at the following location: /wp-content/uploads/update-backups/. You can also download the latest Monstroid theme by clicking the “Download latest Monstroid version”
Manual Install
In case of manual theme installation you will need to enter your license key to receive the updates.
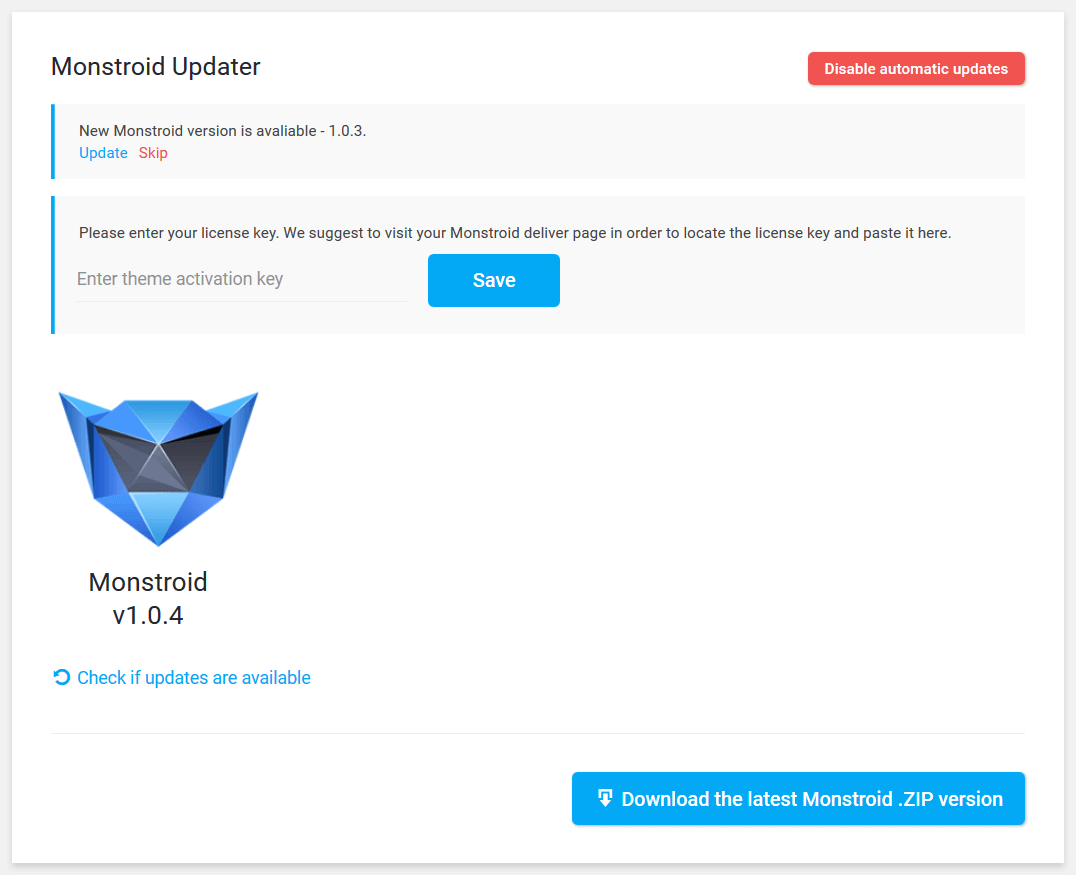
To disable automatic updates click the Disable automatic updates button. “Disable automatic updates”.
Cherry Style Switcher
Cherry Style Switcher - plugin lets you to switch the skins, select layouts, customize position of info blocks in header and footer.
Open WordPress dashboard, go to “Cherry => Option => Style Switcher”
For more information about the settings in the options, described here - Style Switcher options
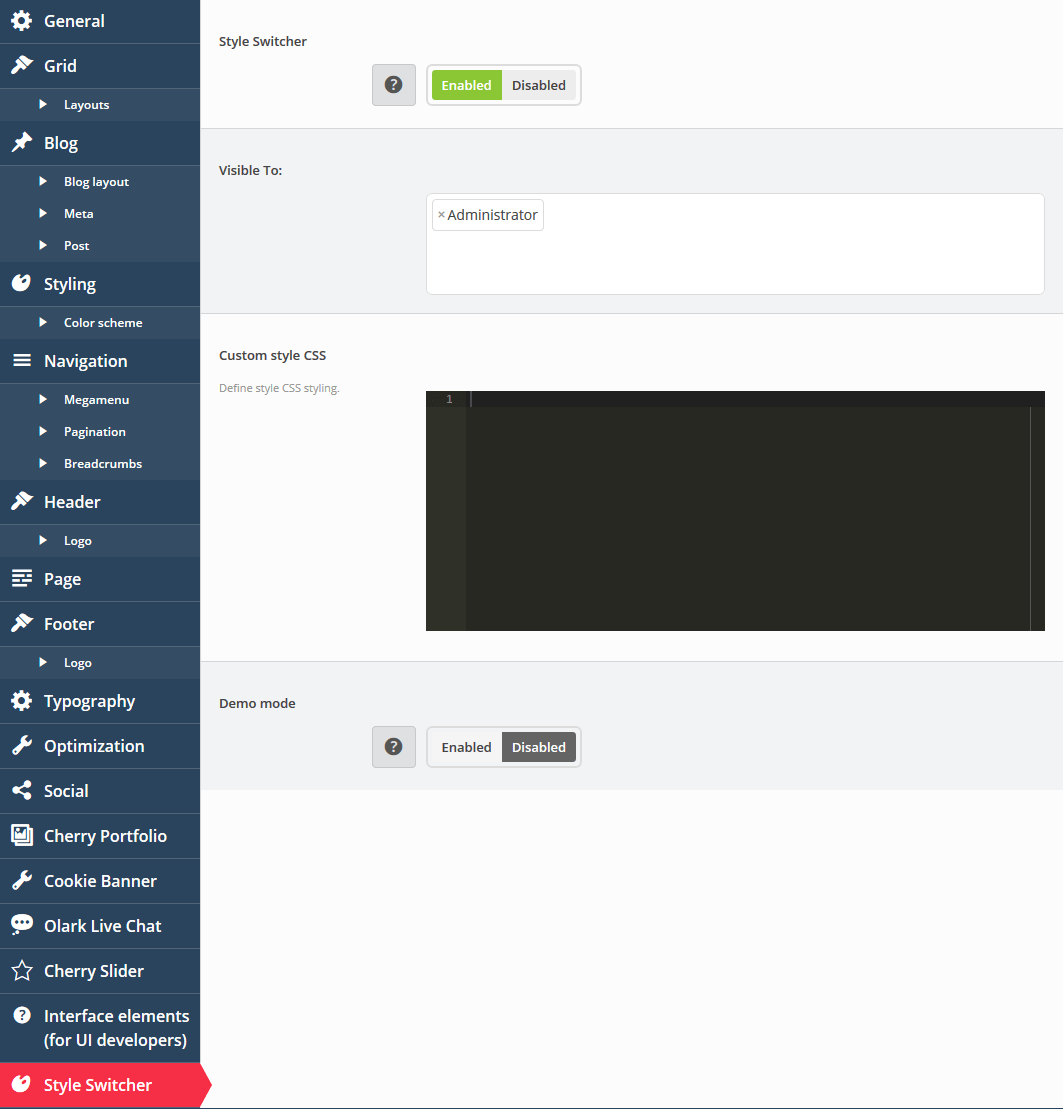
When plugin is enabled in options, you can set up "style switcher" options in public version of site.
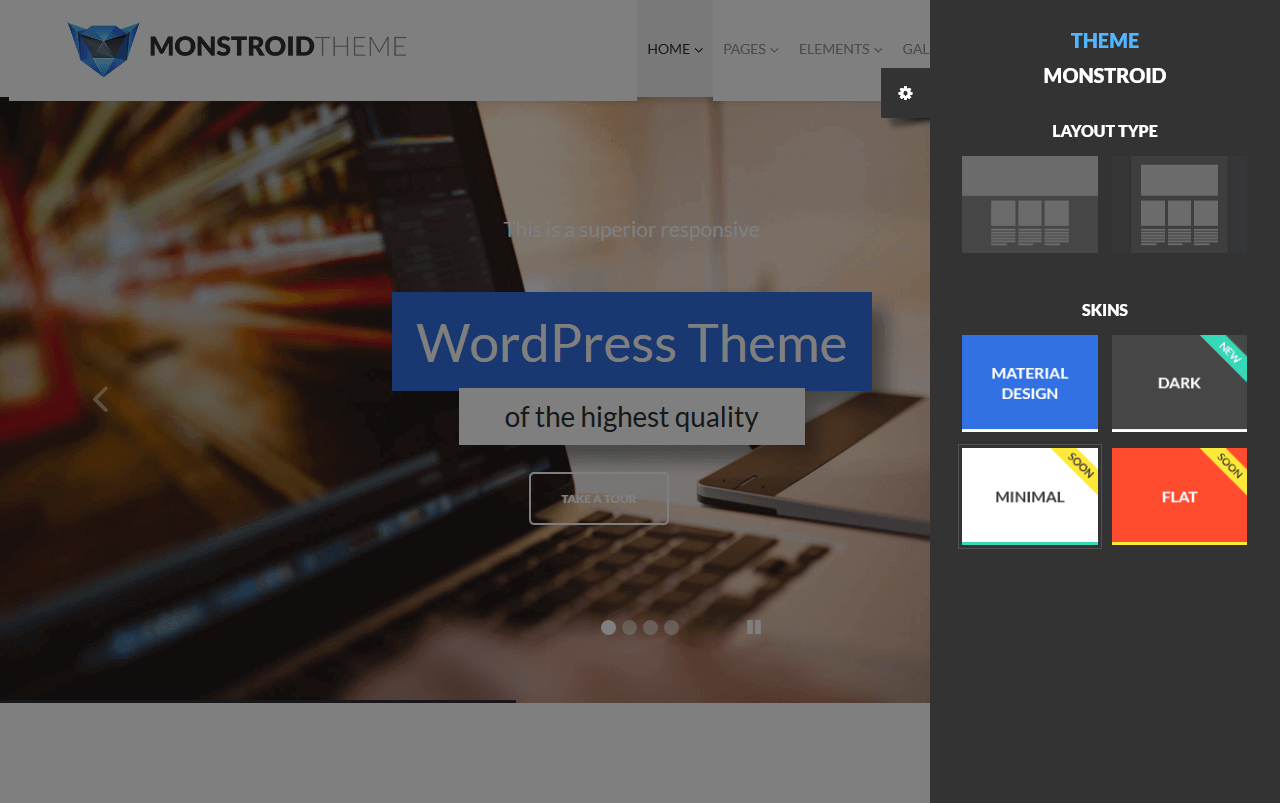
Layout Type
Thumbnail for layout type selection:
-
- Wide
- Wide layout will fit window width
-
- Boxed
- Boxed layout will have fixed width.
Skins
Style preset for template:
-
- Material design
- Google Material Design template style
-
- Dark
- Dark template style
-
- Minimal
- Minimalistic template style
-
- Flat
- Flat template style